Subscribe to our Newsletter
Subscribe to the KING Health mailing list to receive updates on new products, special offers and health tips.
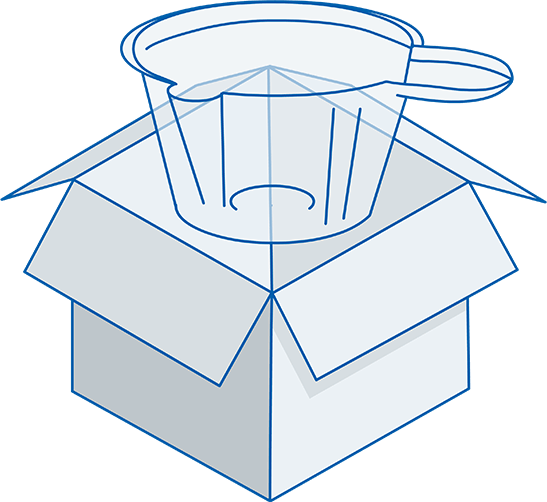
Remove urine collection cup from shipping box.
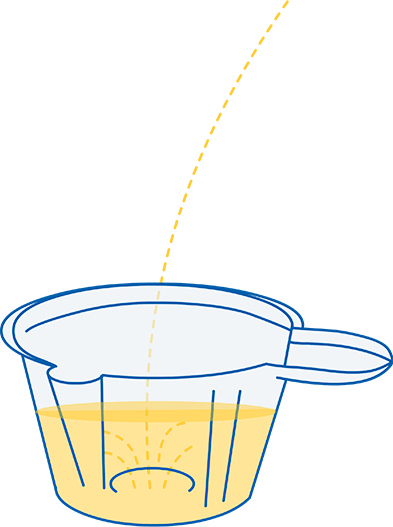
Urinate directly into collection cup and set aside.

Remove urine transfer syringe and specimen tube from packaging. DO NOT OPEN SPECIMEN TUBE AS THIS WILL RELEASE SUCTION ABILITY.
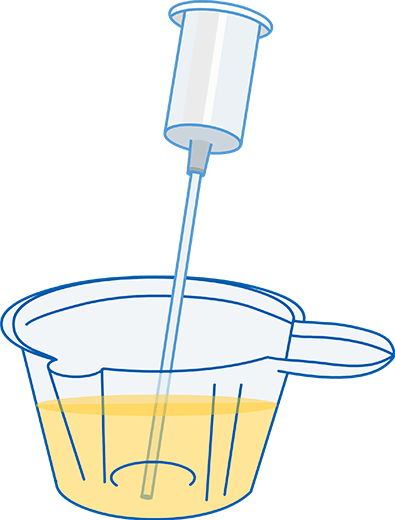
Insert transfer syringe into collection cup making sure tip is fully submerged into urine.
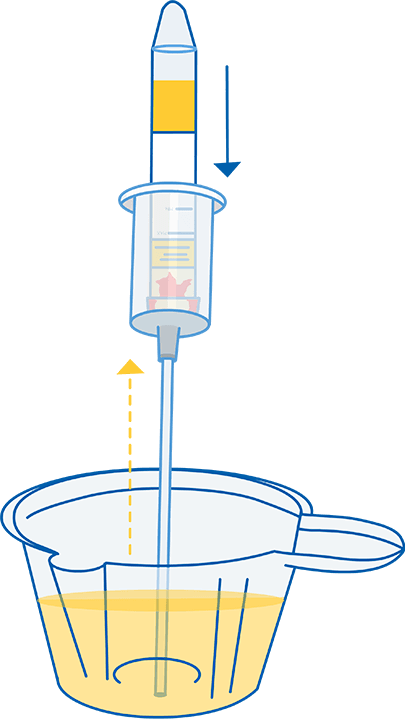
Insert specimen tube into the transfer syringe until the top is punctured and urine is suctioned into the specimen tube. Be sure not to introduce air into the specimen tube.
Suction will stop once the tube is full.
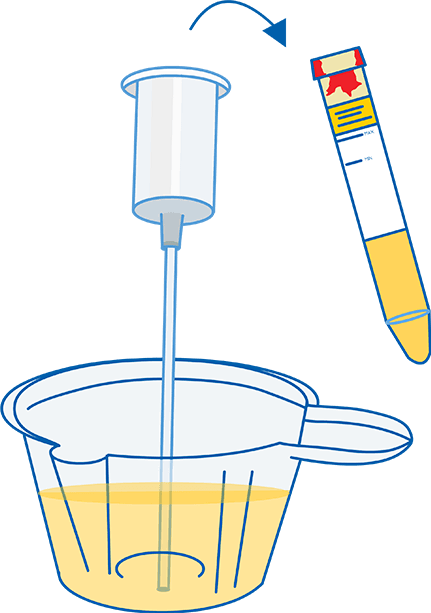
Once suction is complete, remove specimen tube from the urine transfer syringe and label tube.

Write Your Name, date of birth and collection date on the tube. MM/DD/YYYY
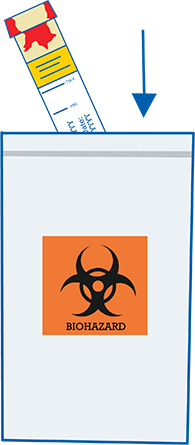
Insert tube into a biohazard bag.
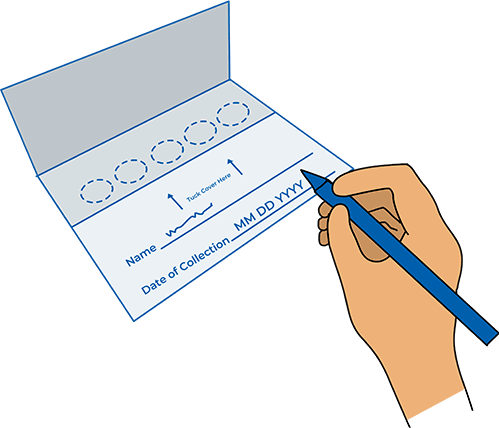
Write your name and DOB on the Blood Spot Collection Card.
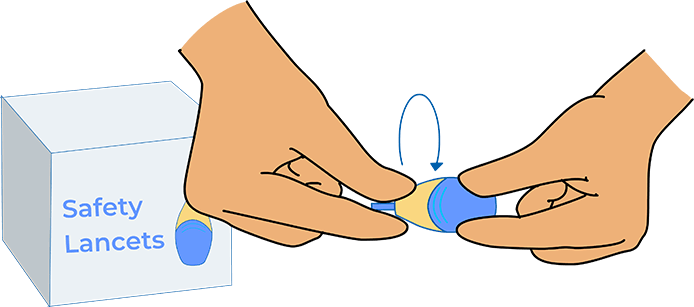
Remove Blood Lancet from the box and twist off the blue tab to break seal. Do NOT touch or depress white tip.
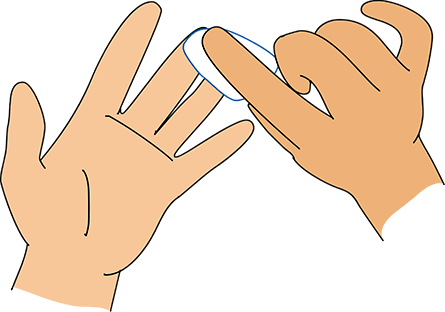
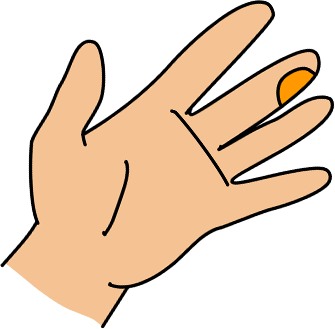
Use the provided alcohol pad to clean the tip of the finger (3rd finger or 4th finger).
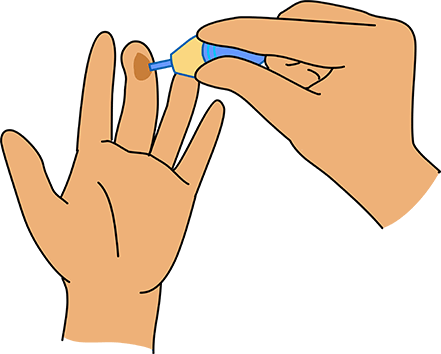
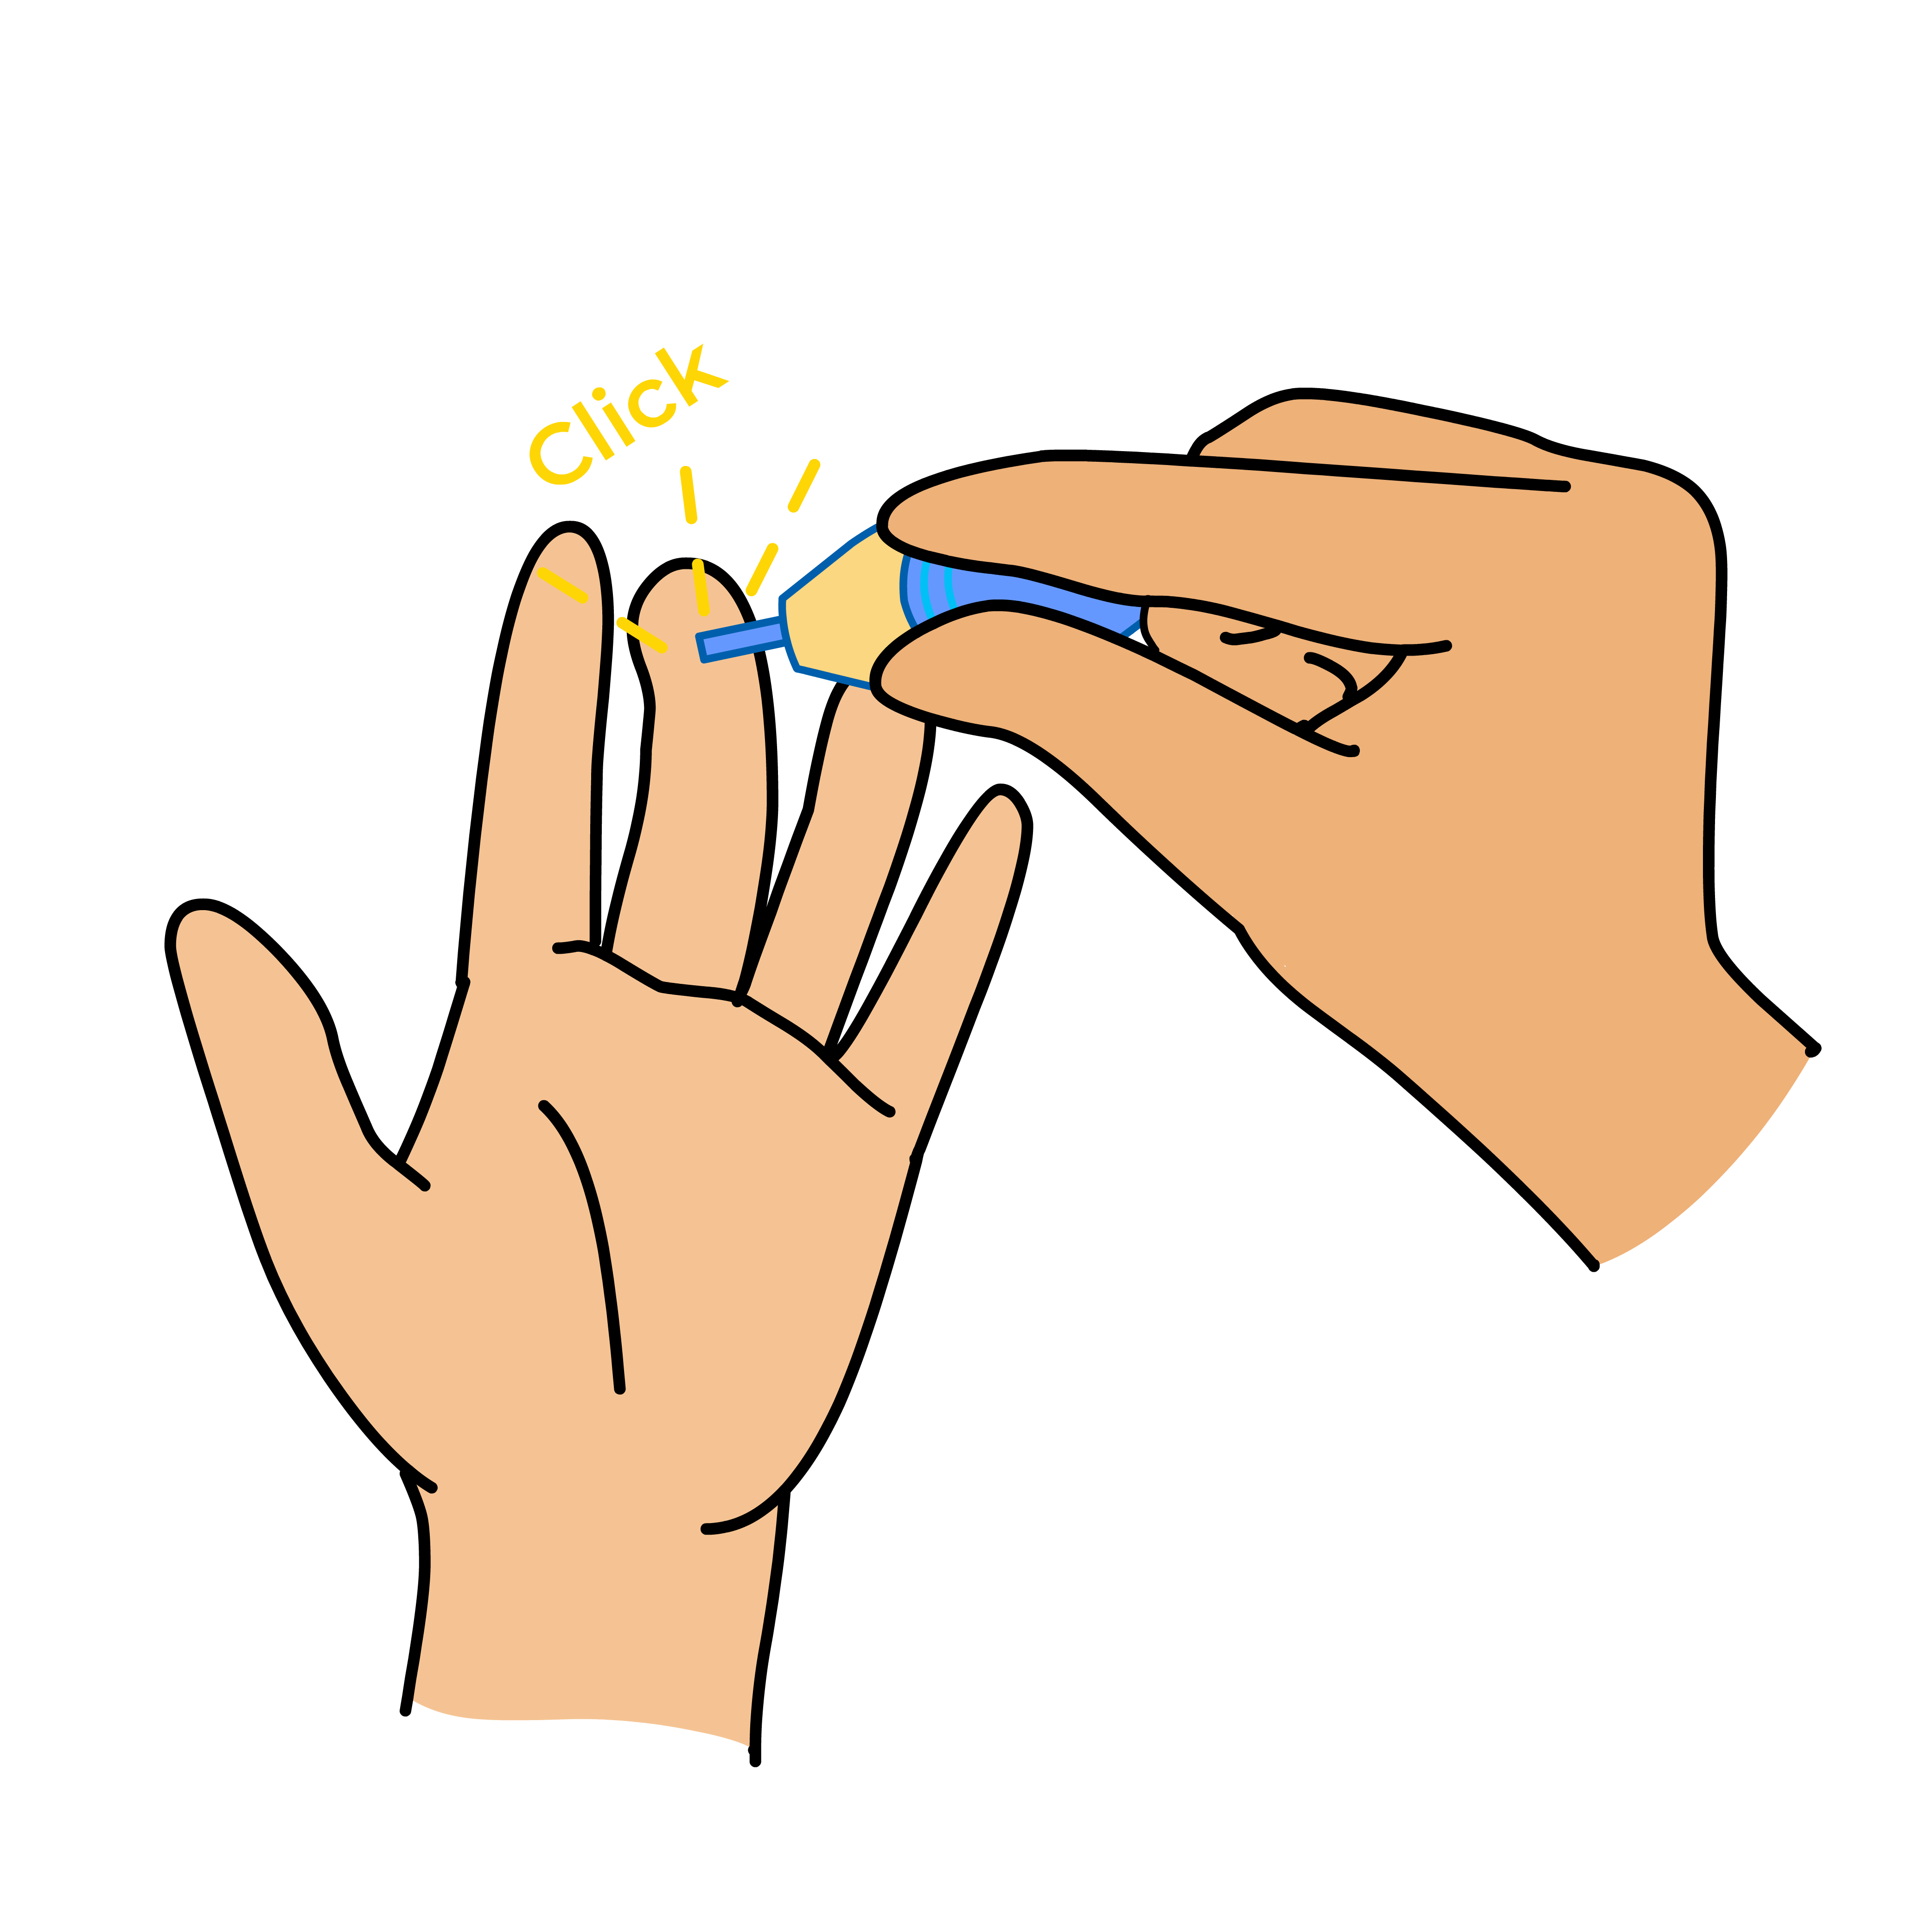
Place the tip of the lancet against the side of the fingertip.
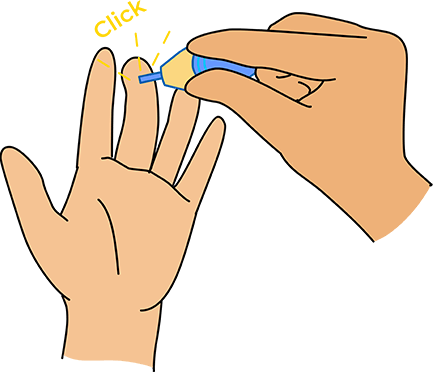
Press down firmly until an audible click is heard. (Lancets are SINGLE USE ONLY)
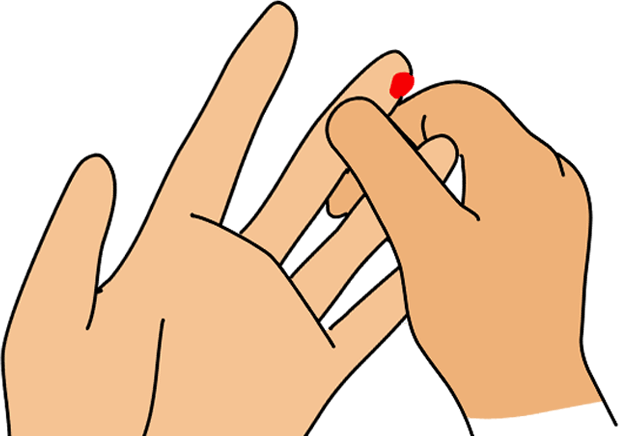
Gently press and massage from below the puncture site to allow for a large drop of blood to form.
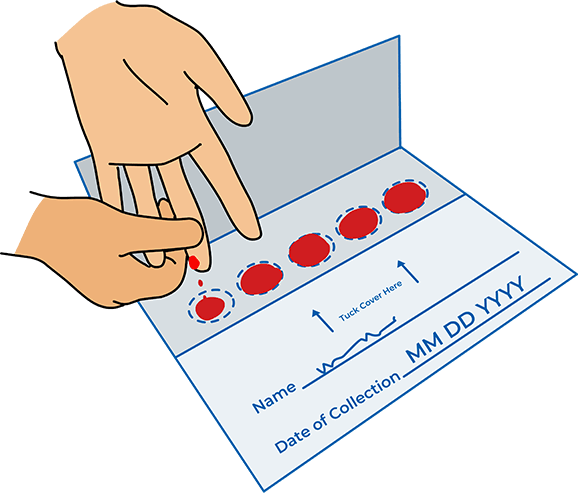
Hold finger downward to allow blood to drop onto circles until each circle is filled.
Apply gauze and bandage to stop bleeding.
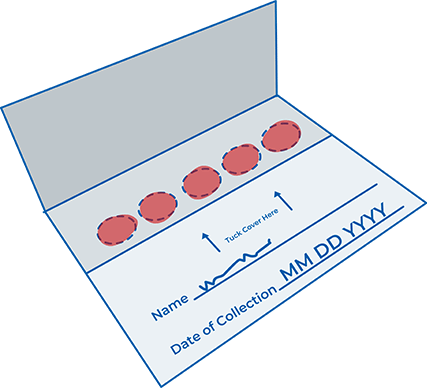
Allow collection card to air dry.
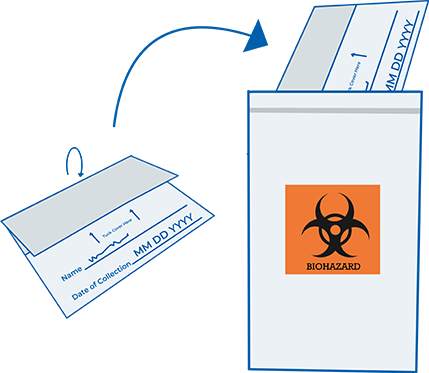
Tuck the cover into flap. Insert into the biohazard bag.
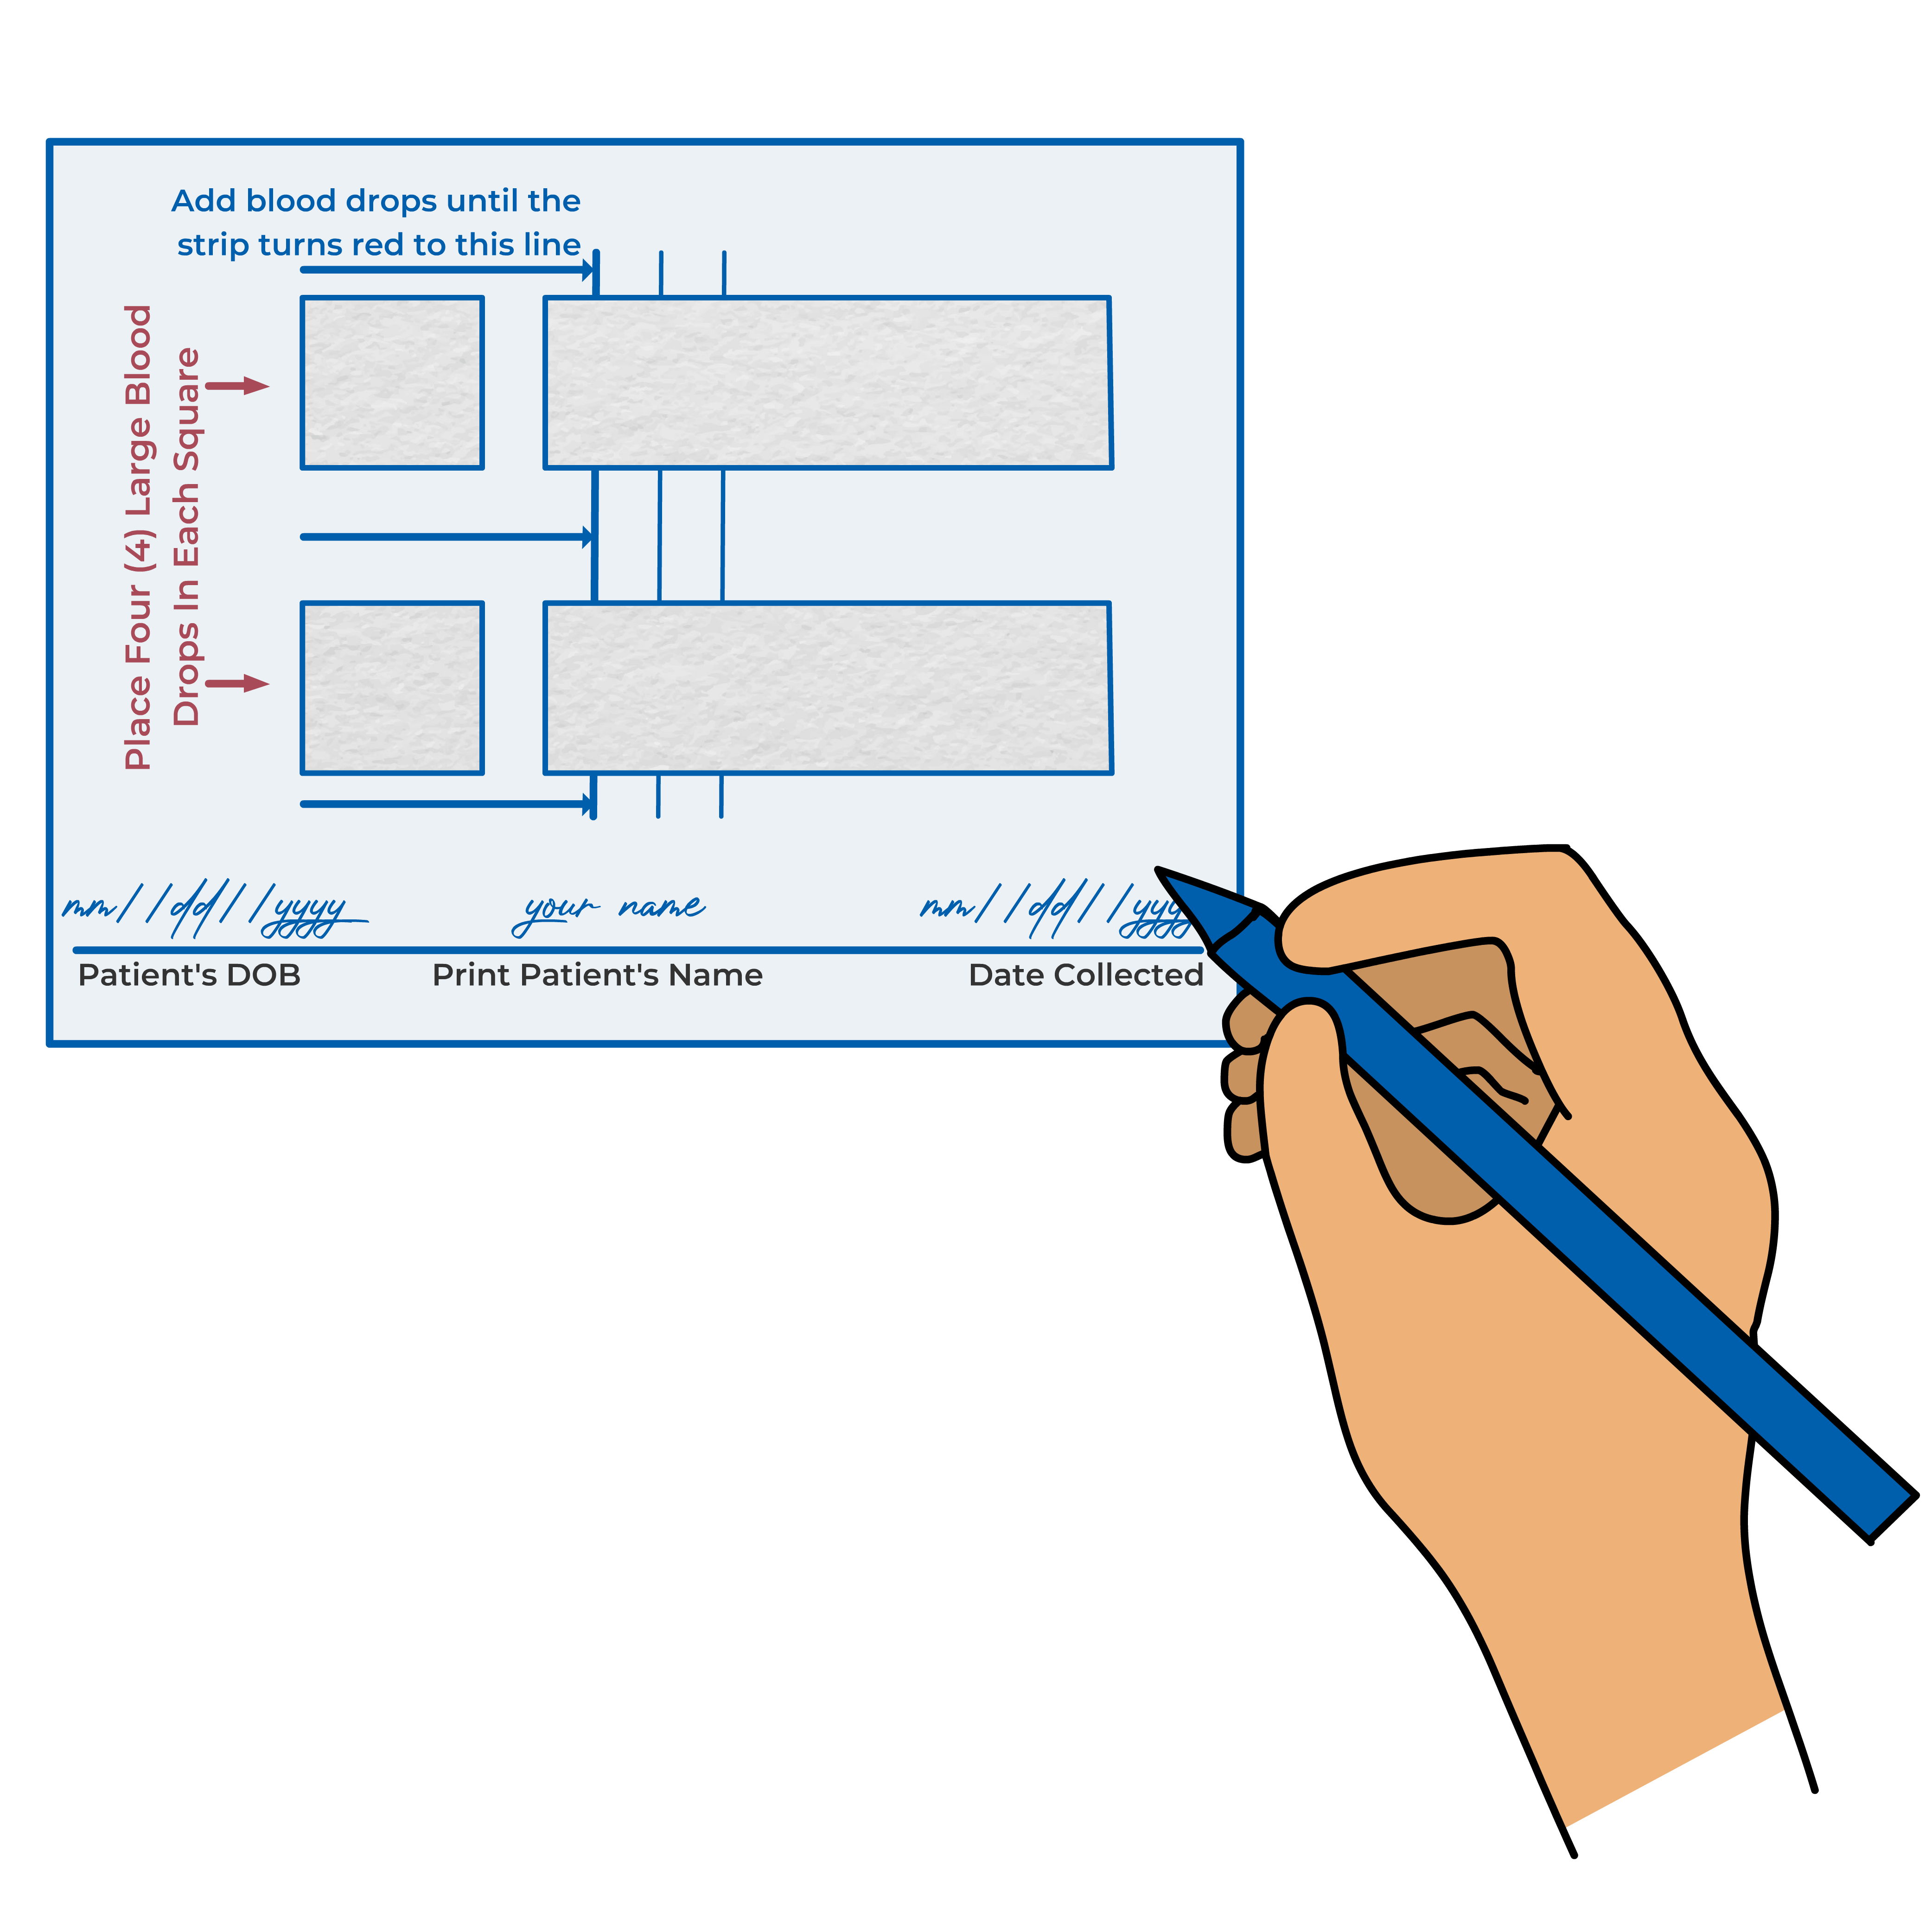
Write your name, DOB and date of collection on the Special Blood Card.
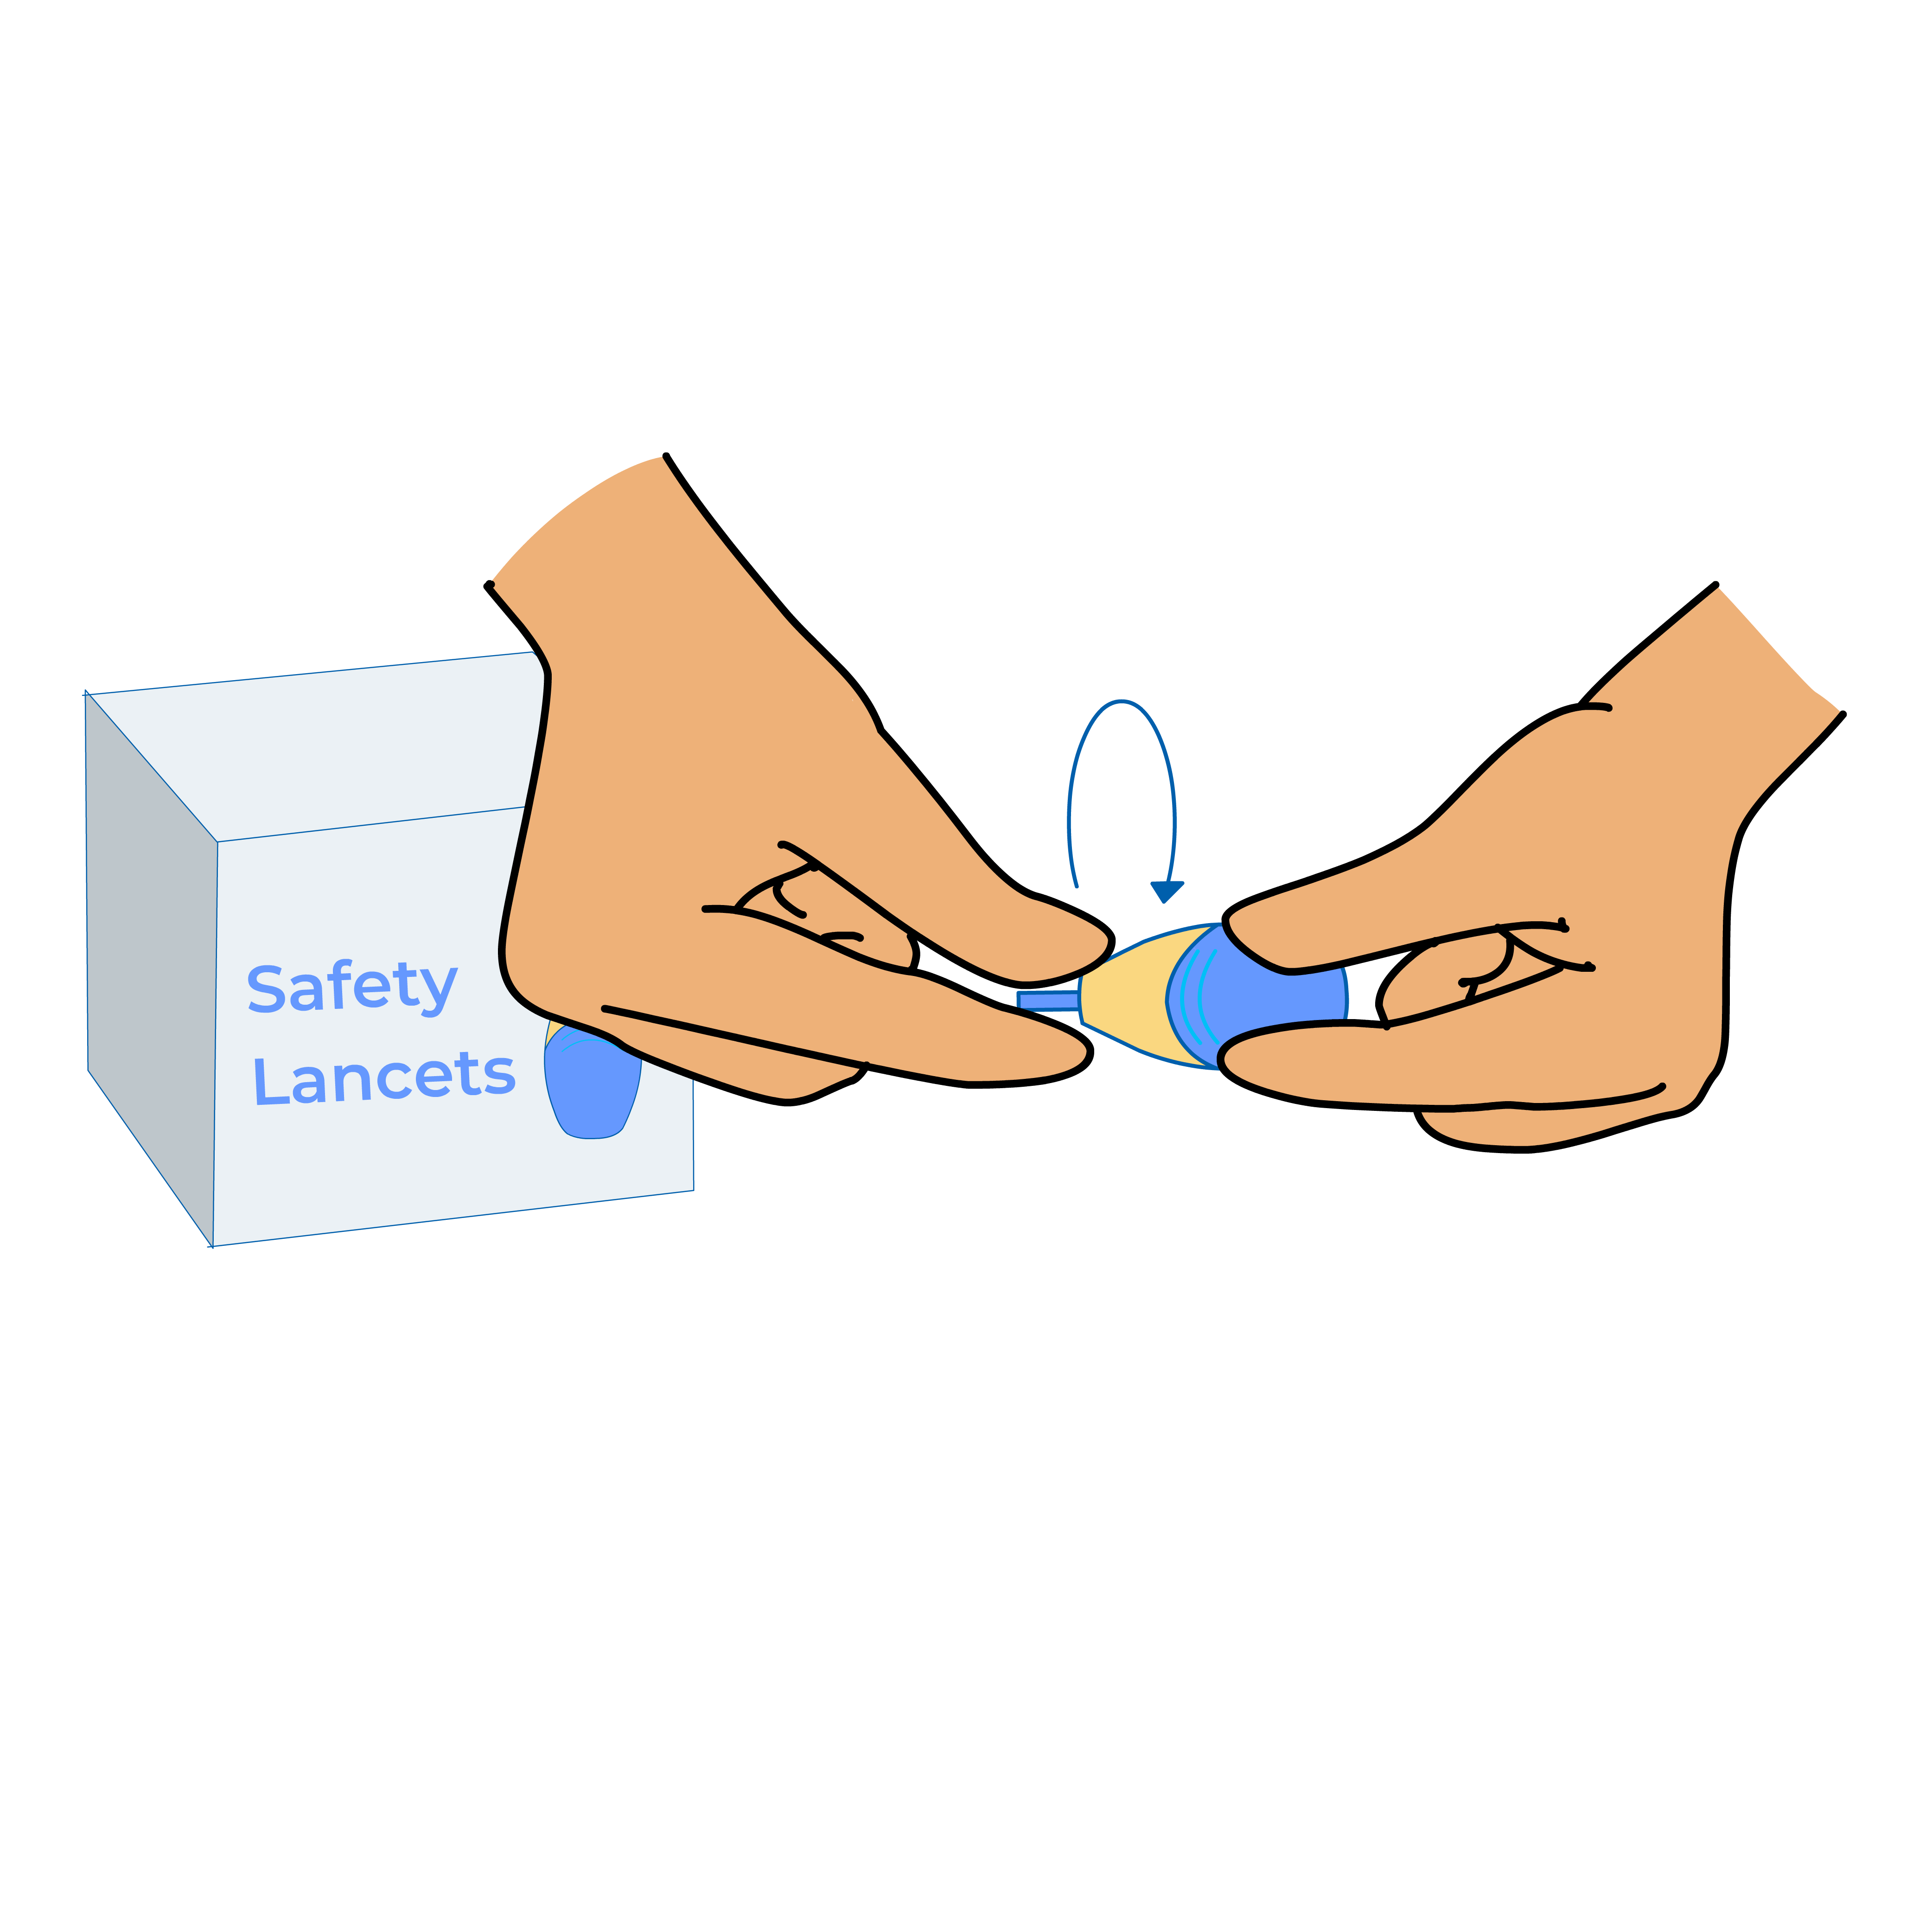
Remove Blood Lancet from the box and twist off the blue tab to break seal. Do NOT touch or depress white tip.
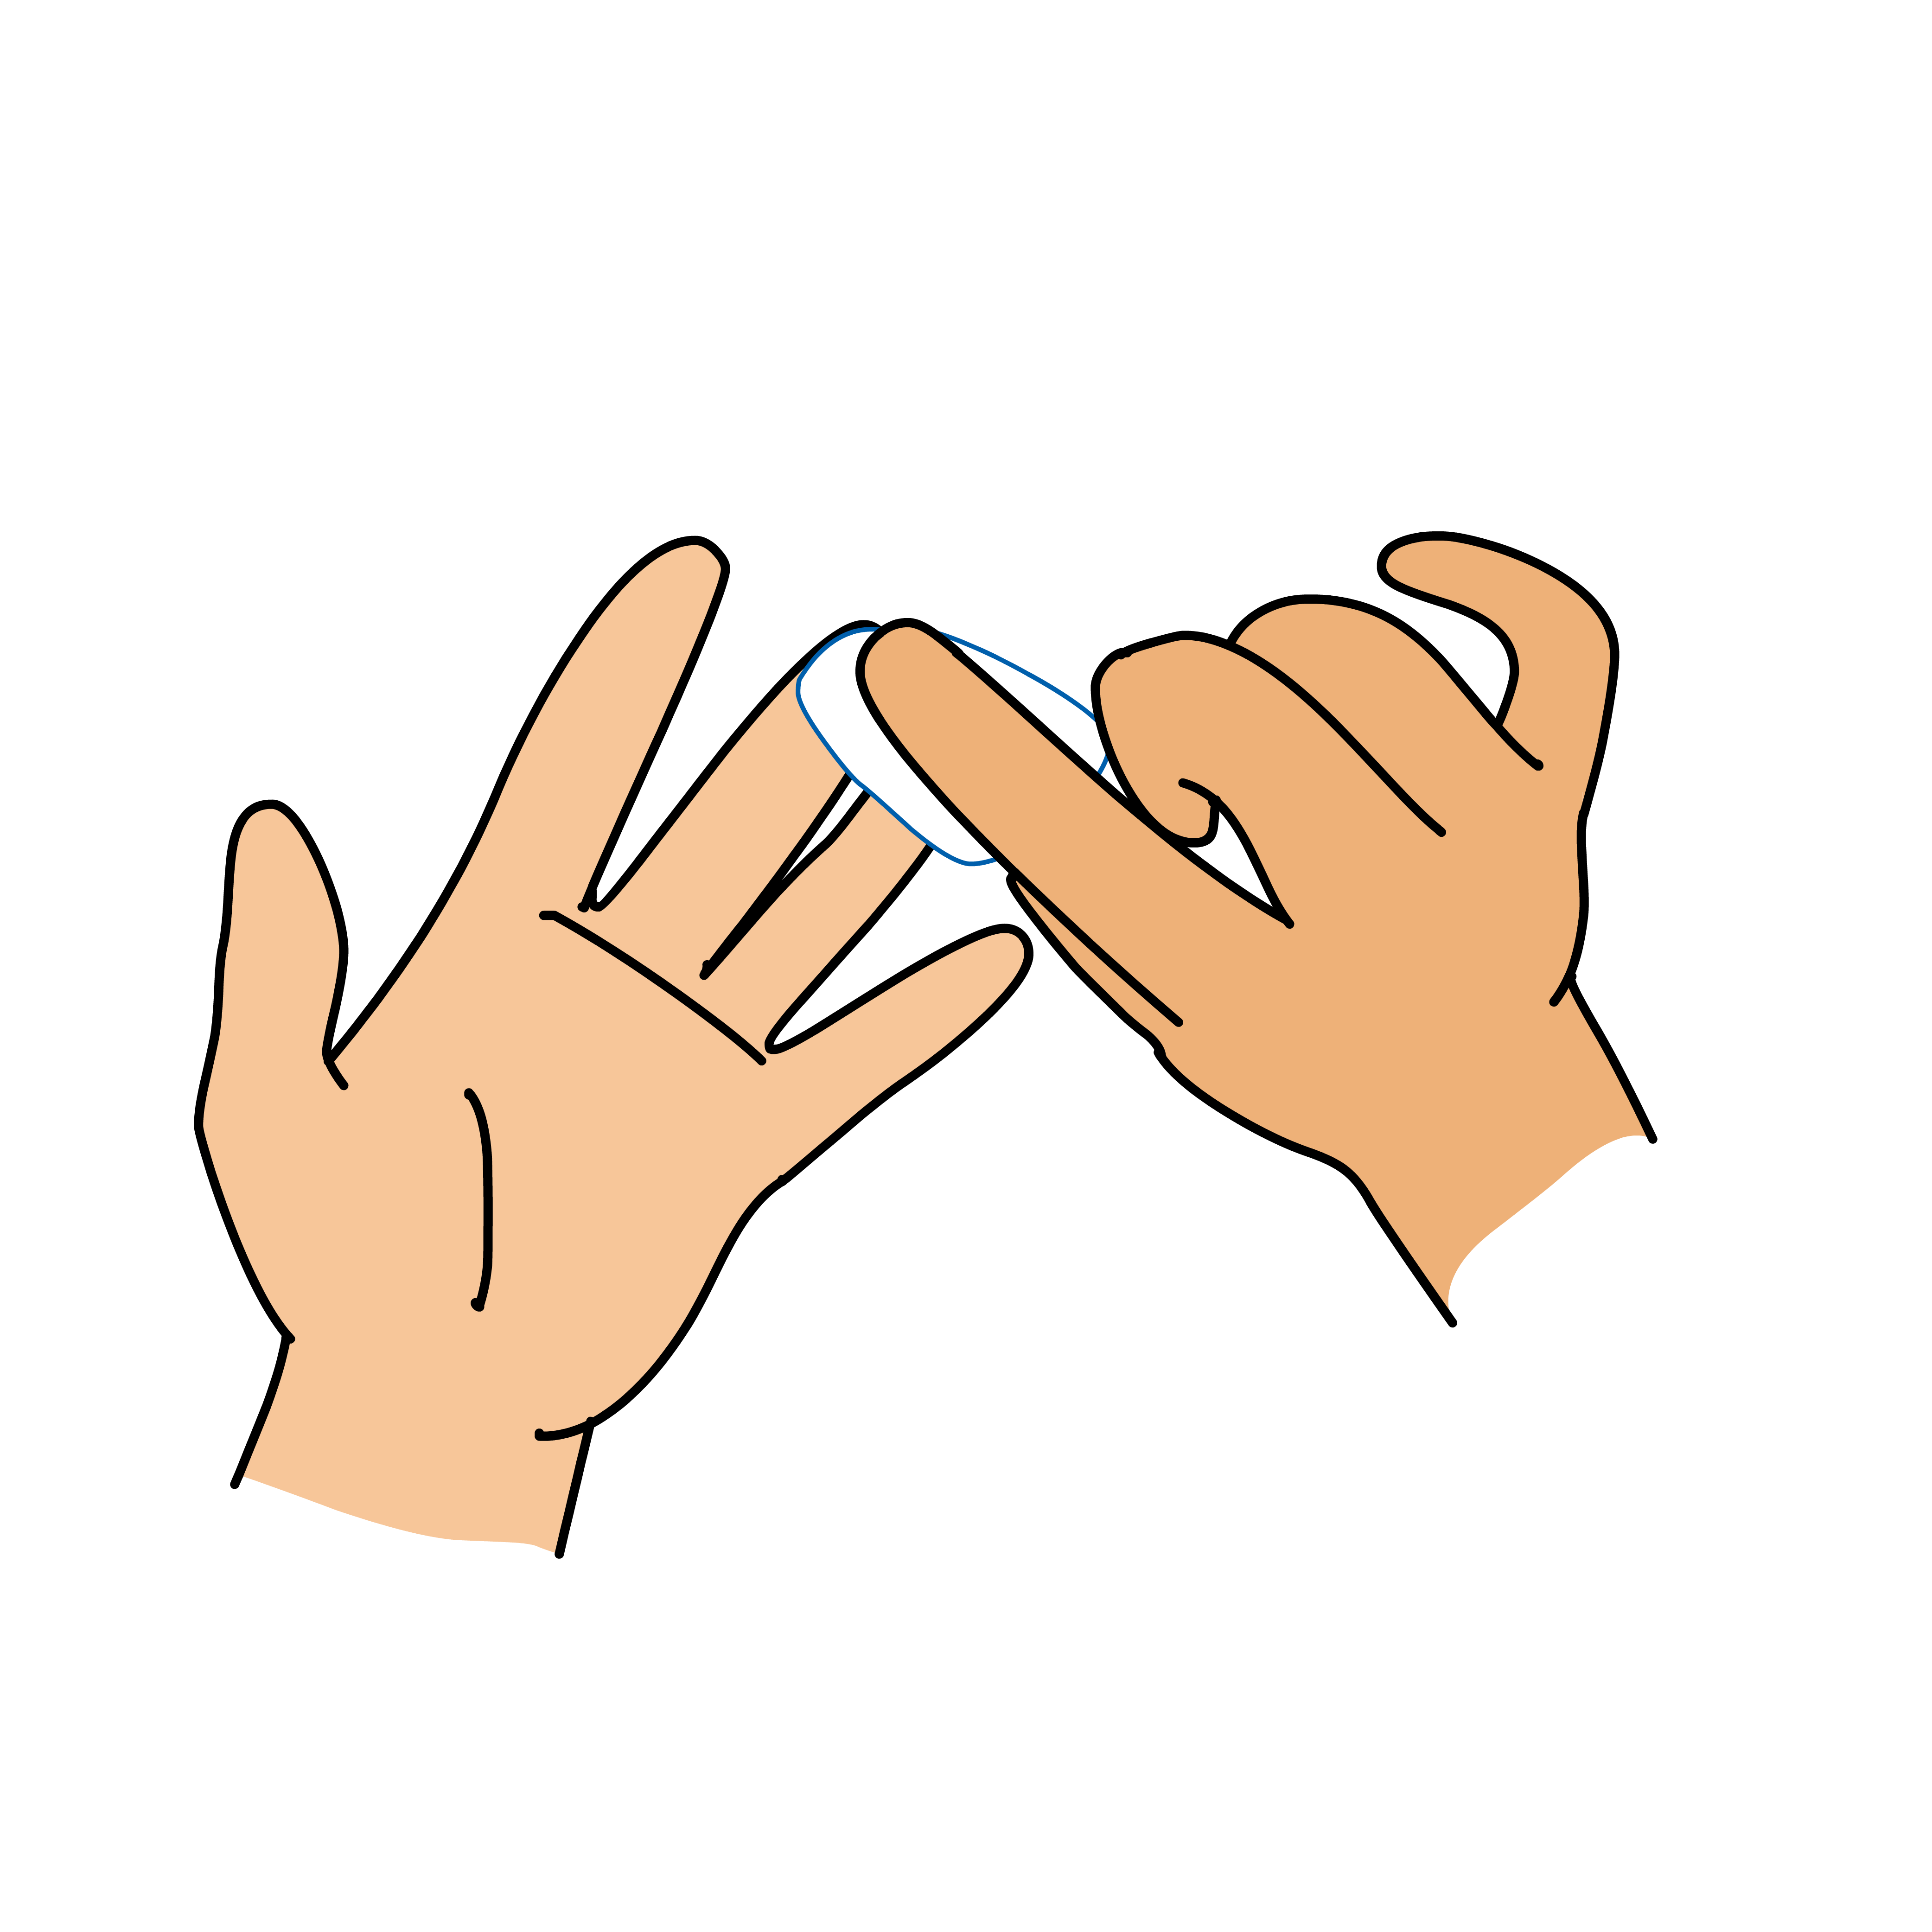
Use the provided alcohol pad to clean the tip of the finger (3rd finger or 4th finger).
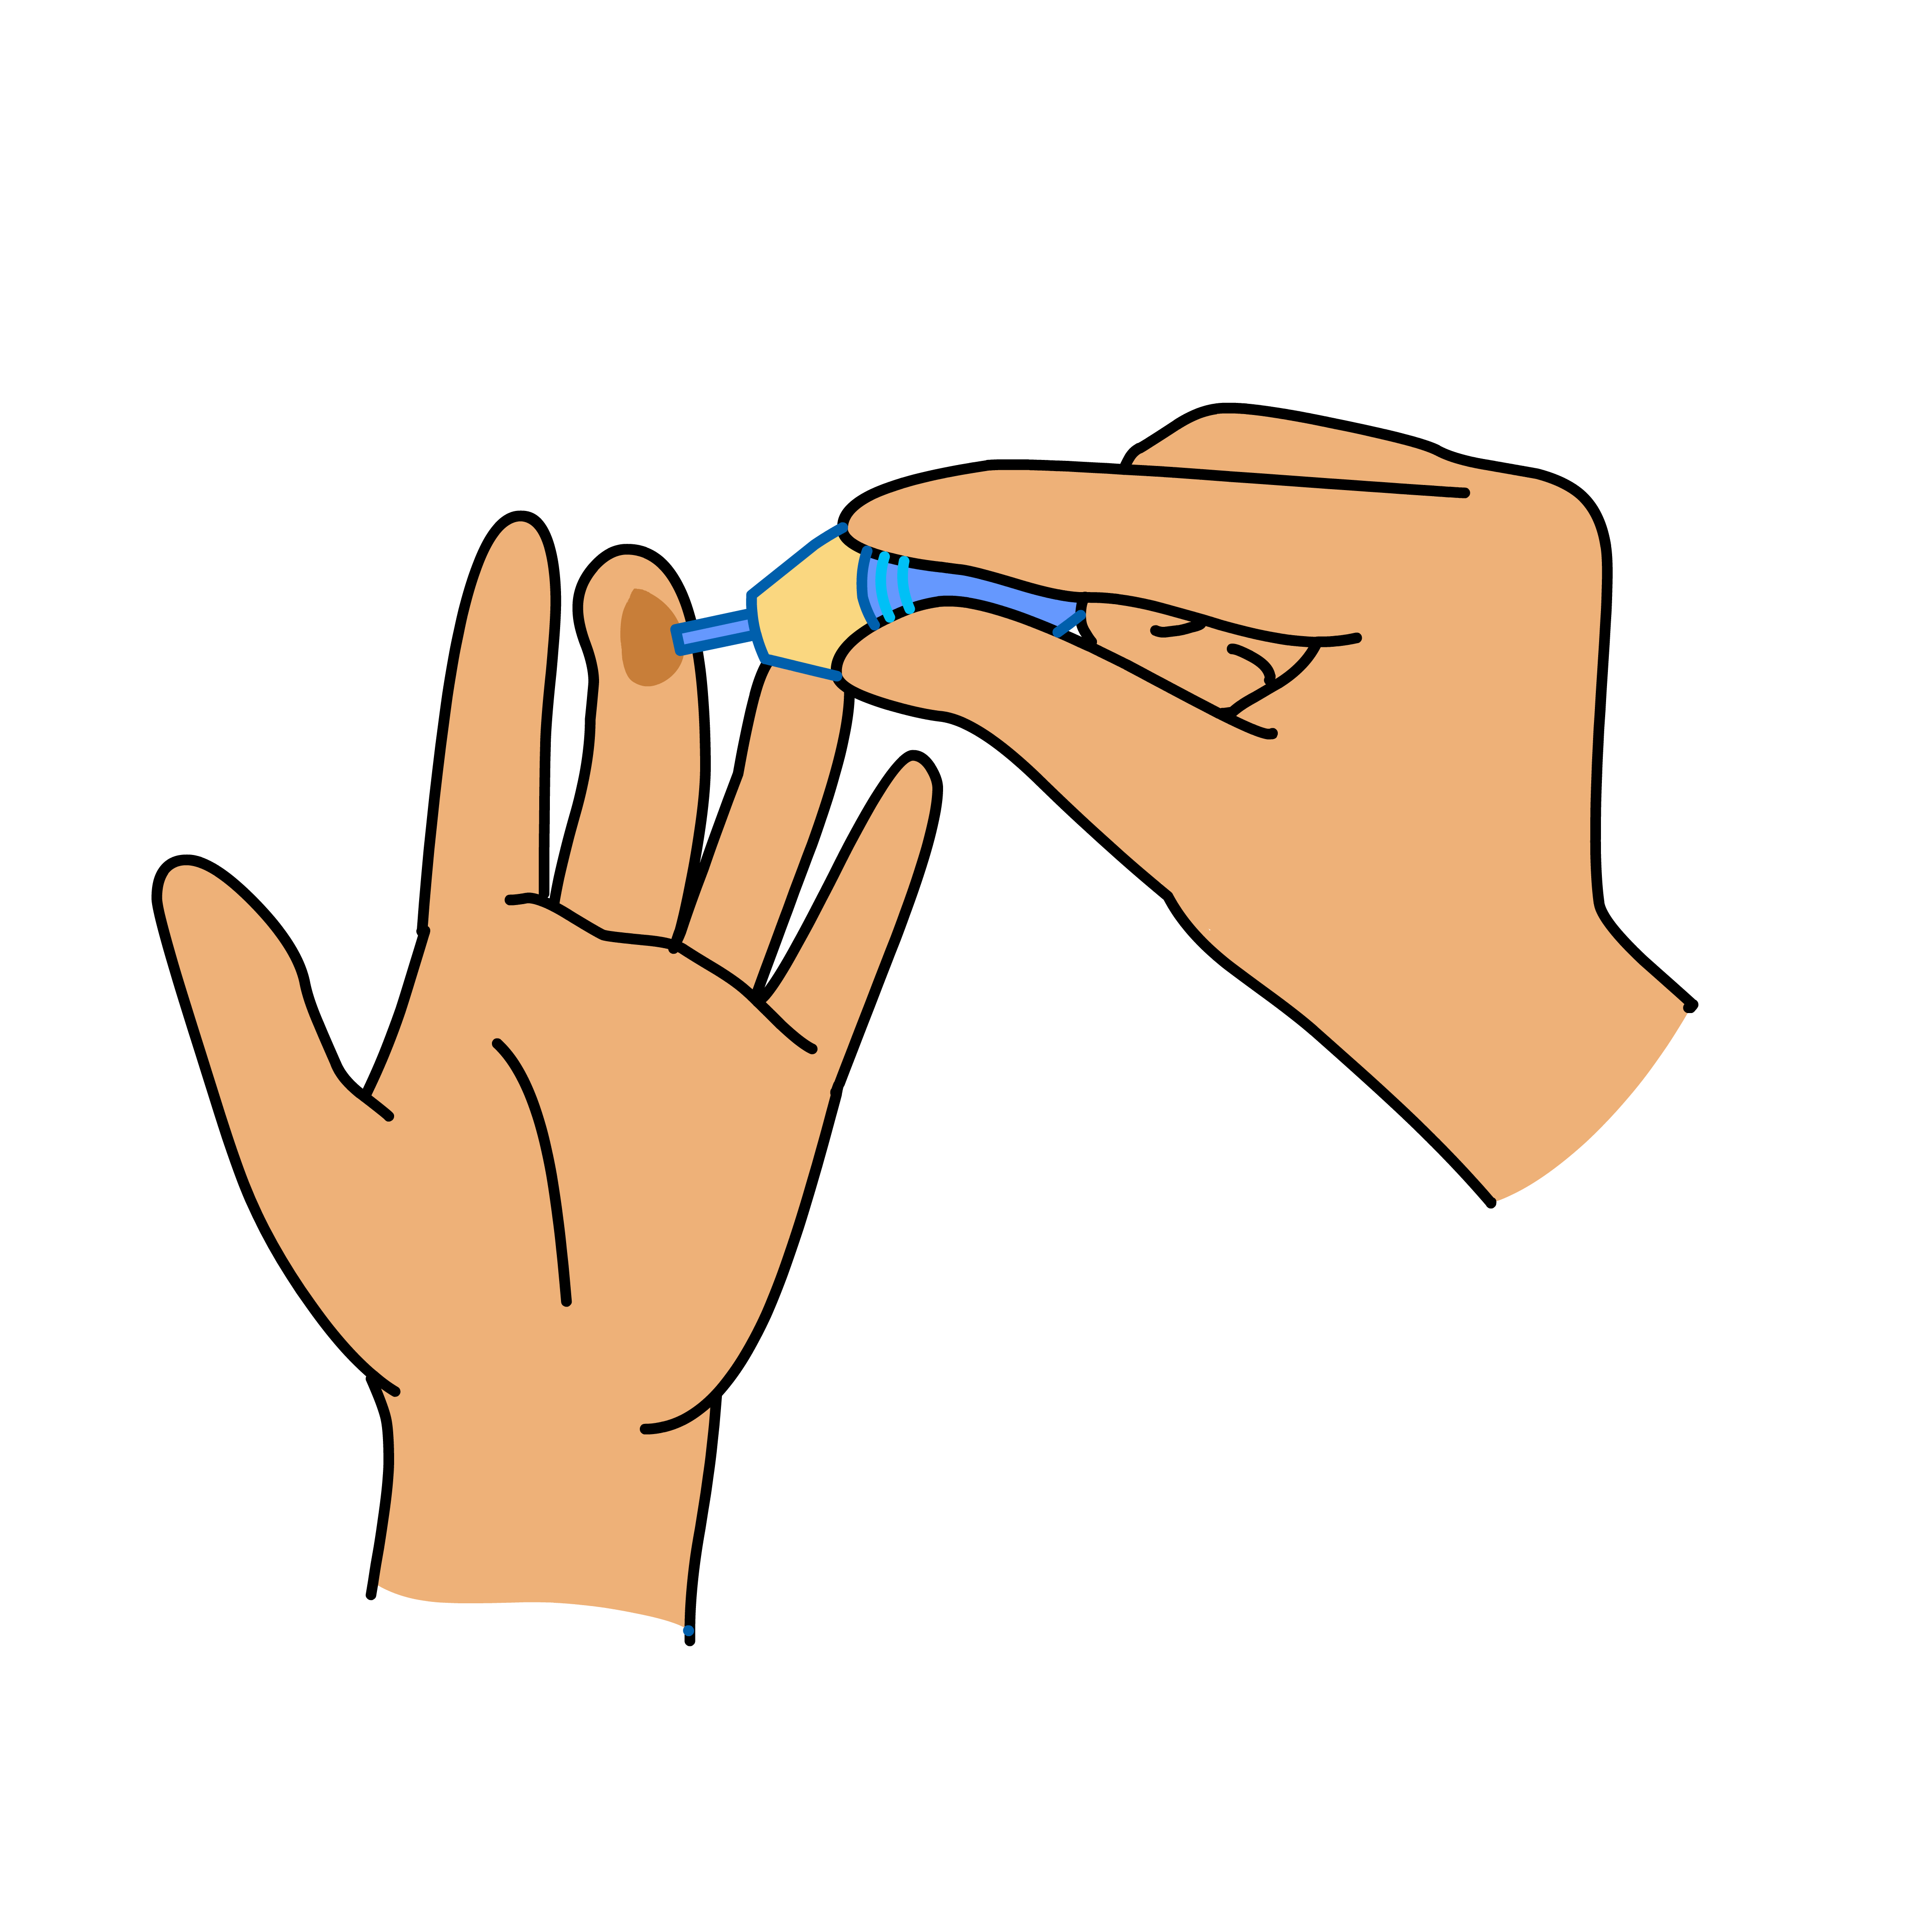
Place the tip of the lancet against the side of the fingertip.
Press down firmly until an audible click is heard. (Lancets are SINGLE USE ONLY)
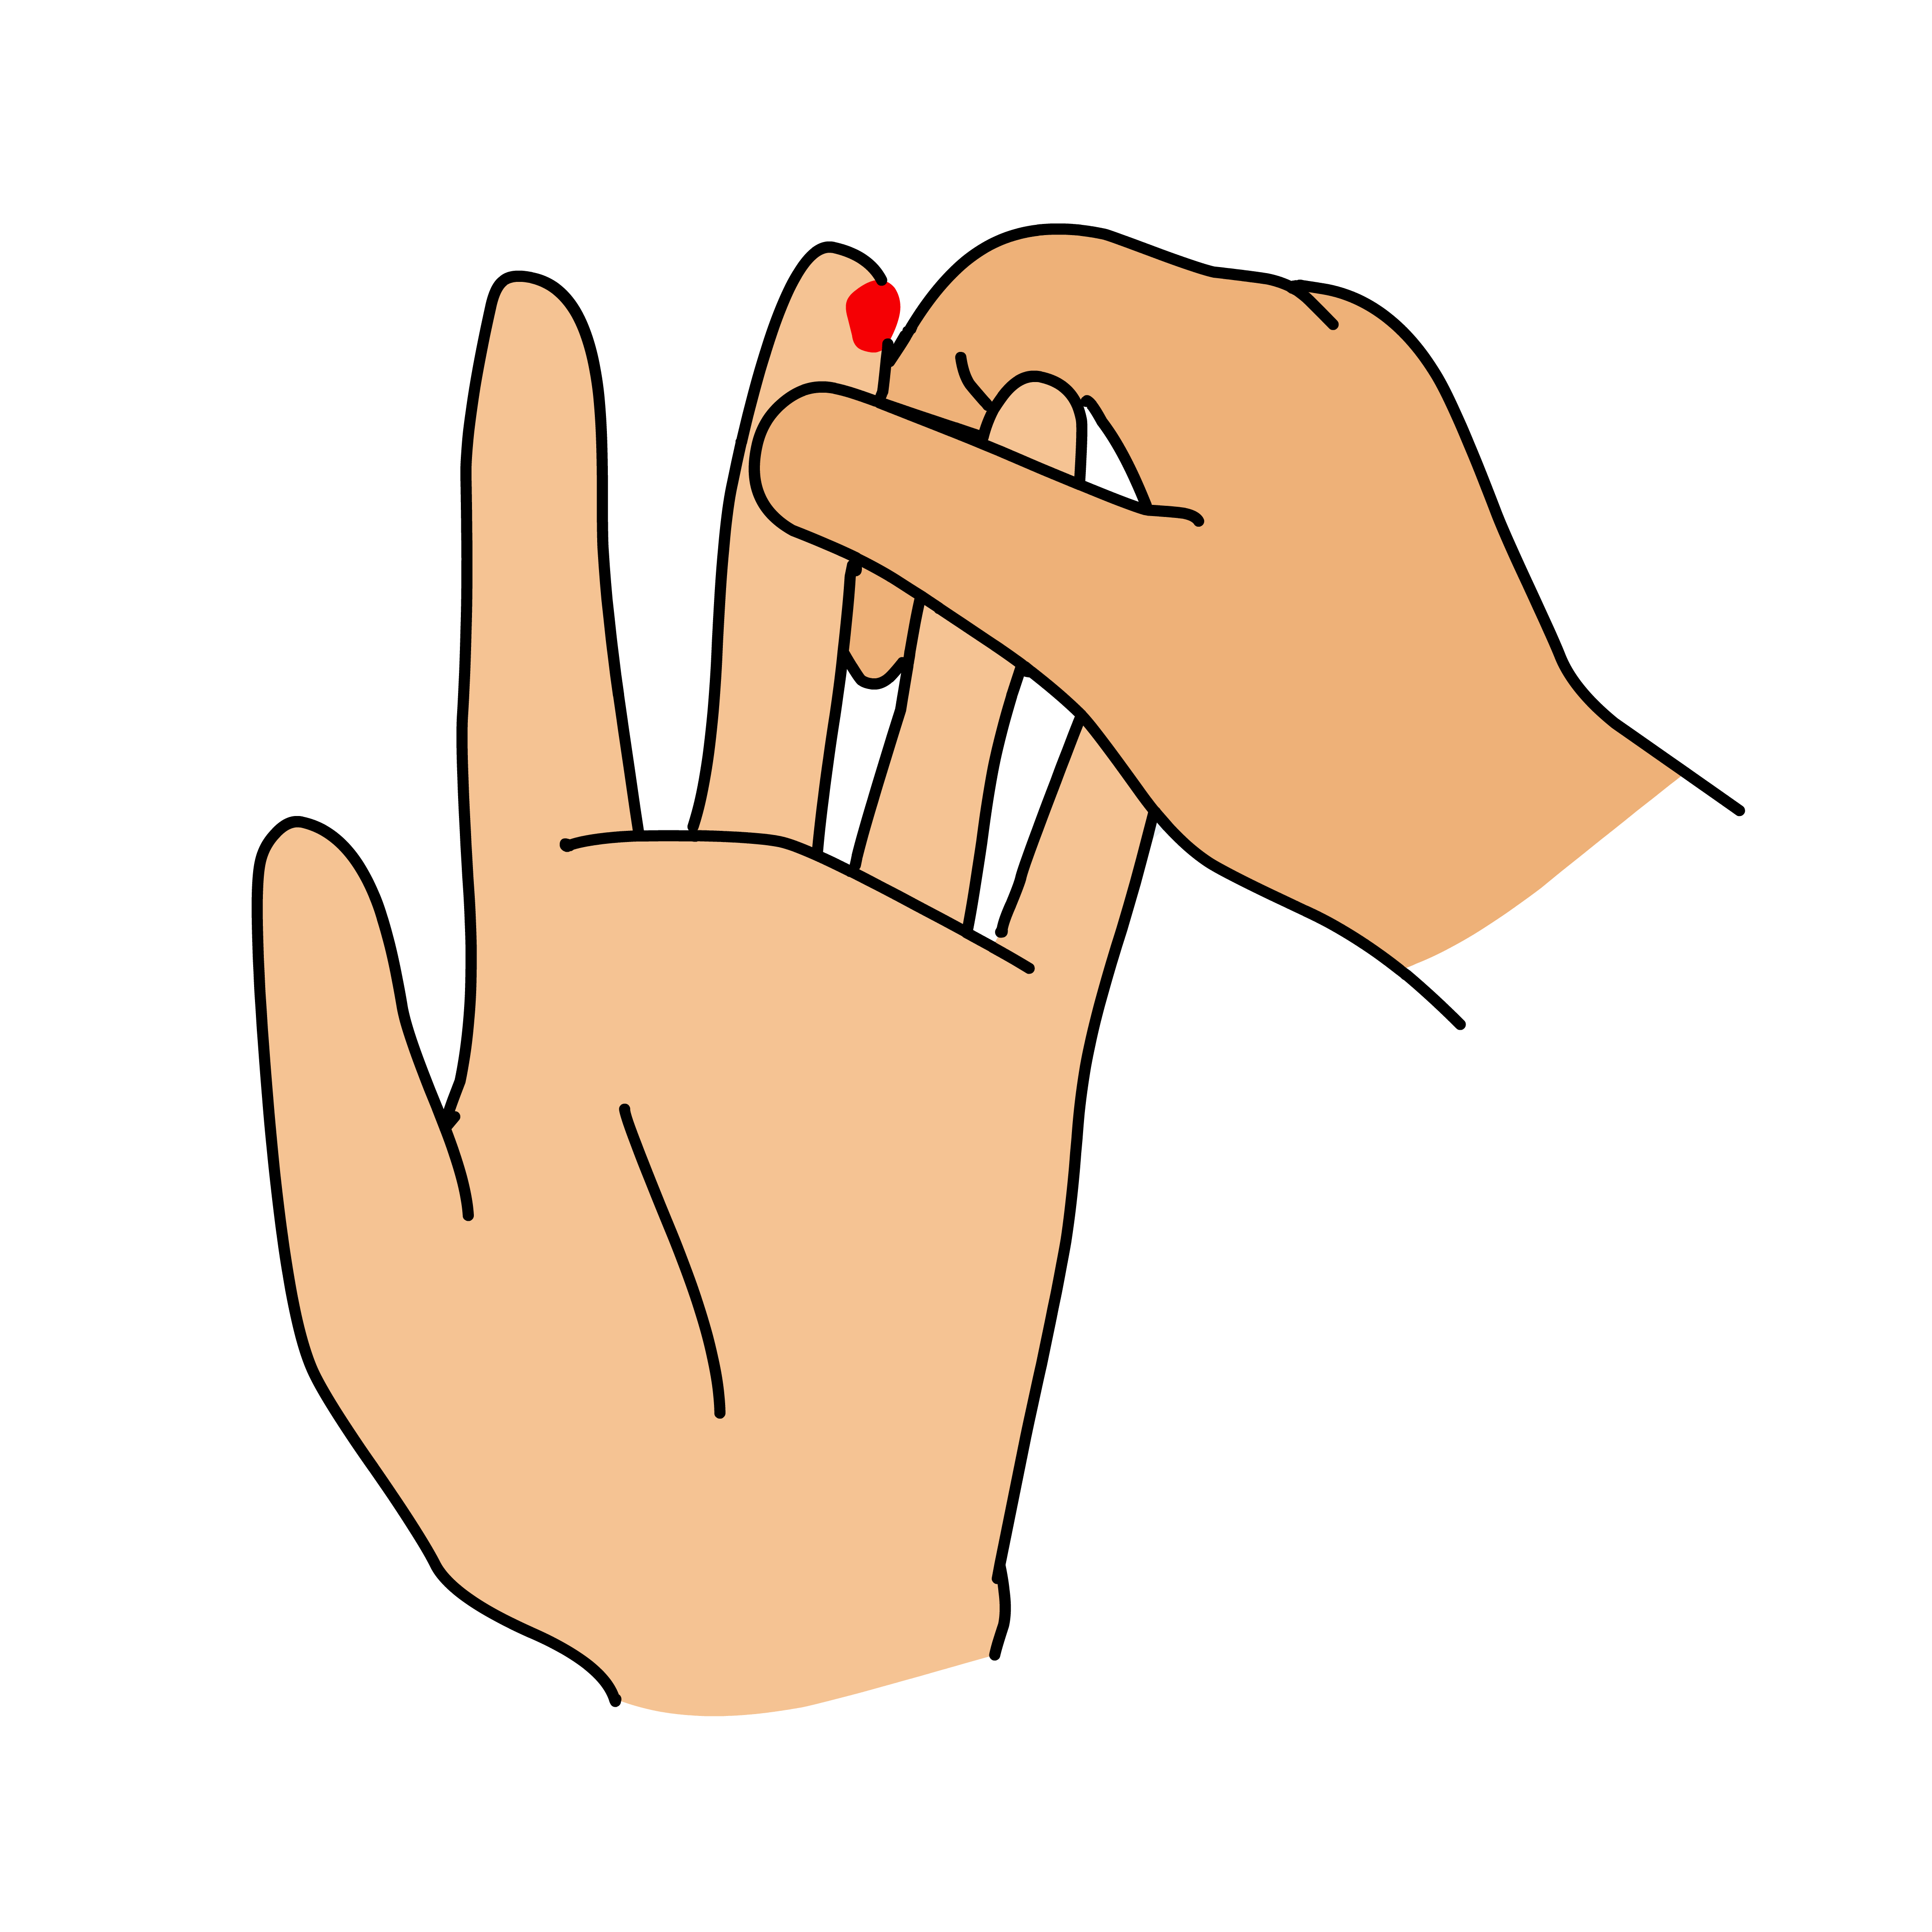
Gently press and massage from below the puncture site to allow for a large drop of blood to form.
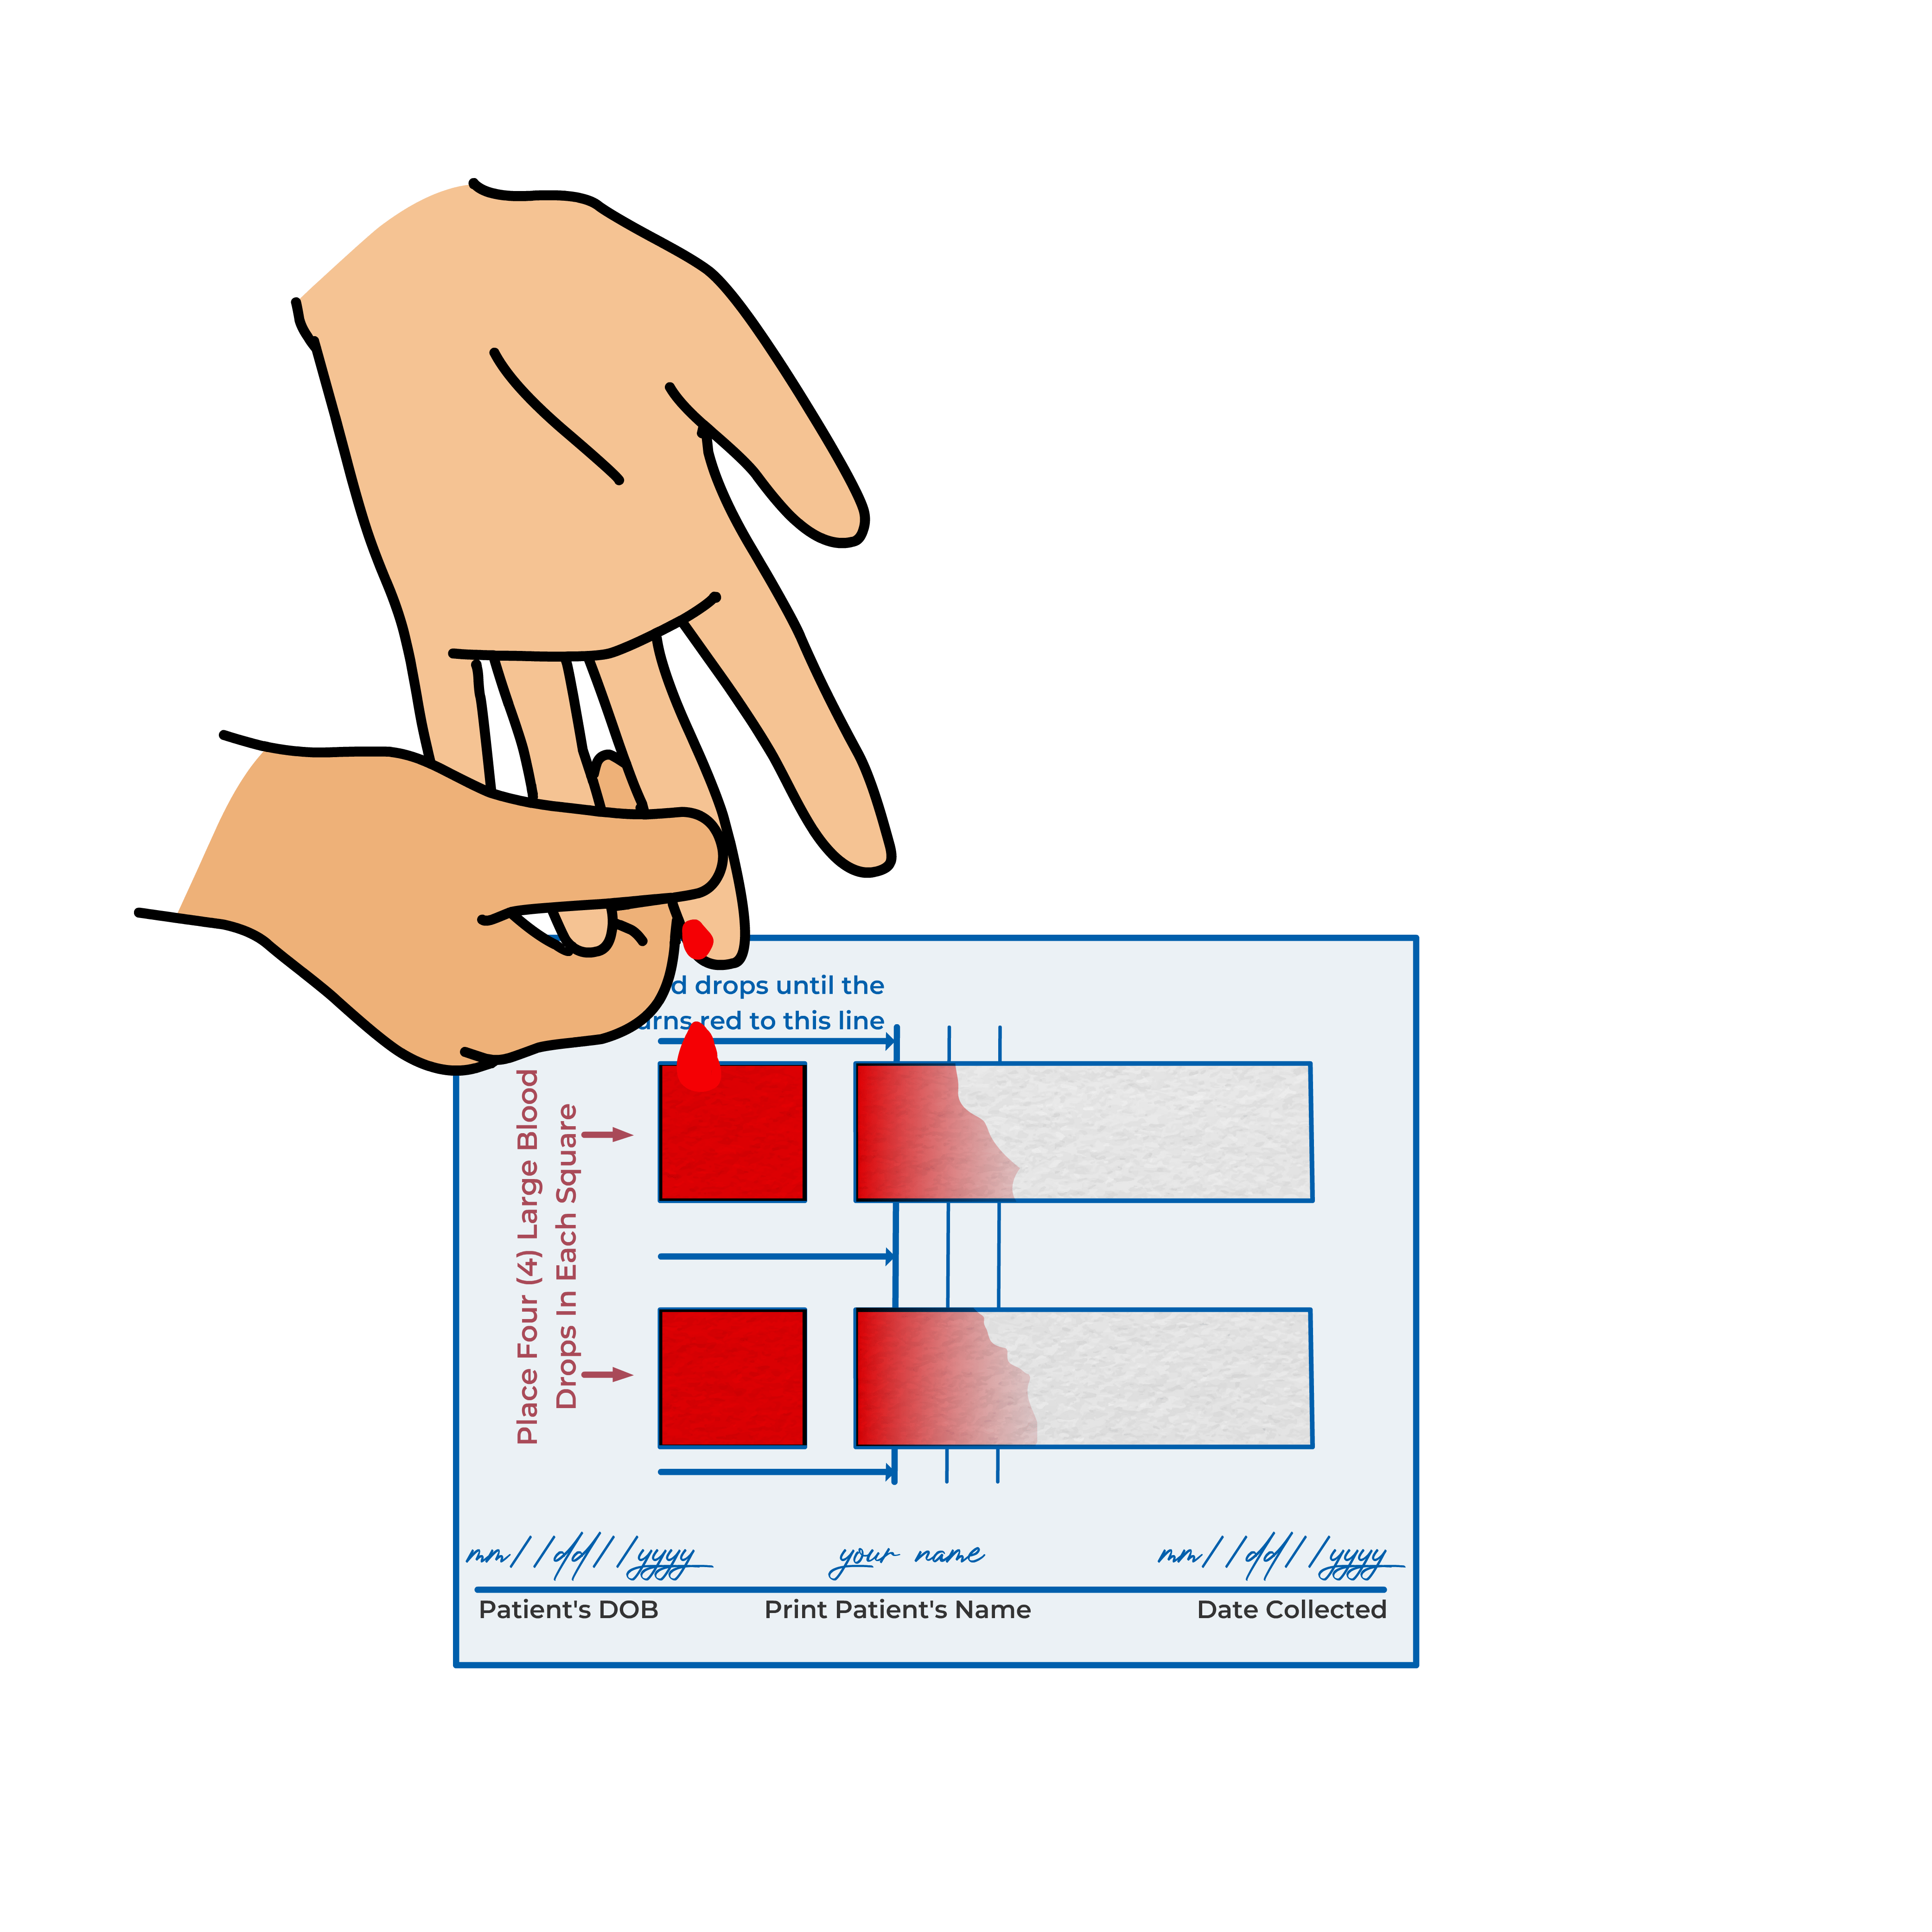
Hold finger downward to allow FOUR blood drops onto the small square on card.

Apply gauze and bandage to stop bleeding.
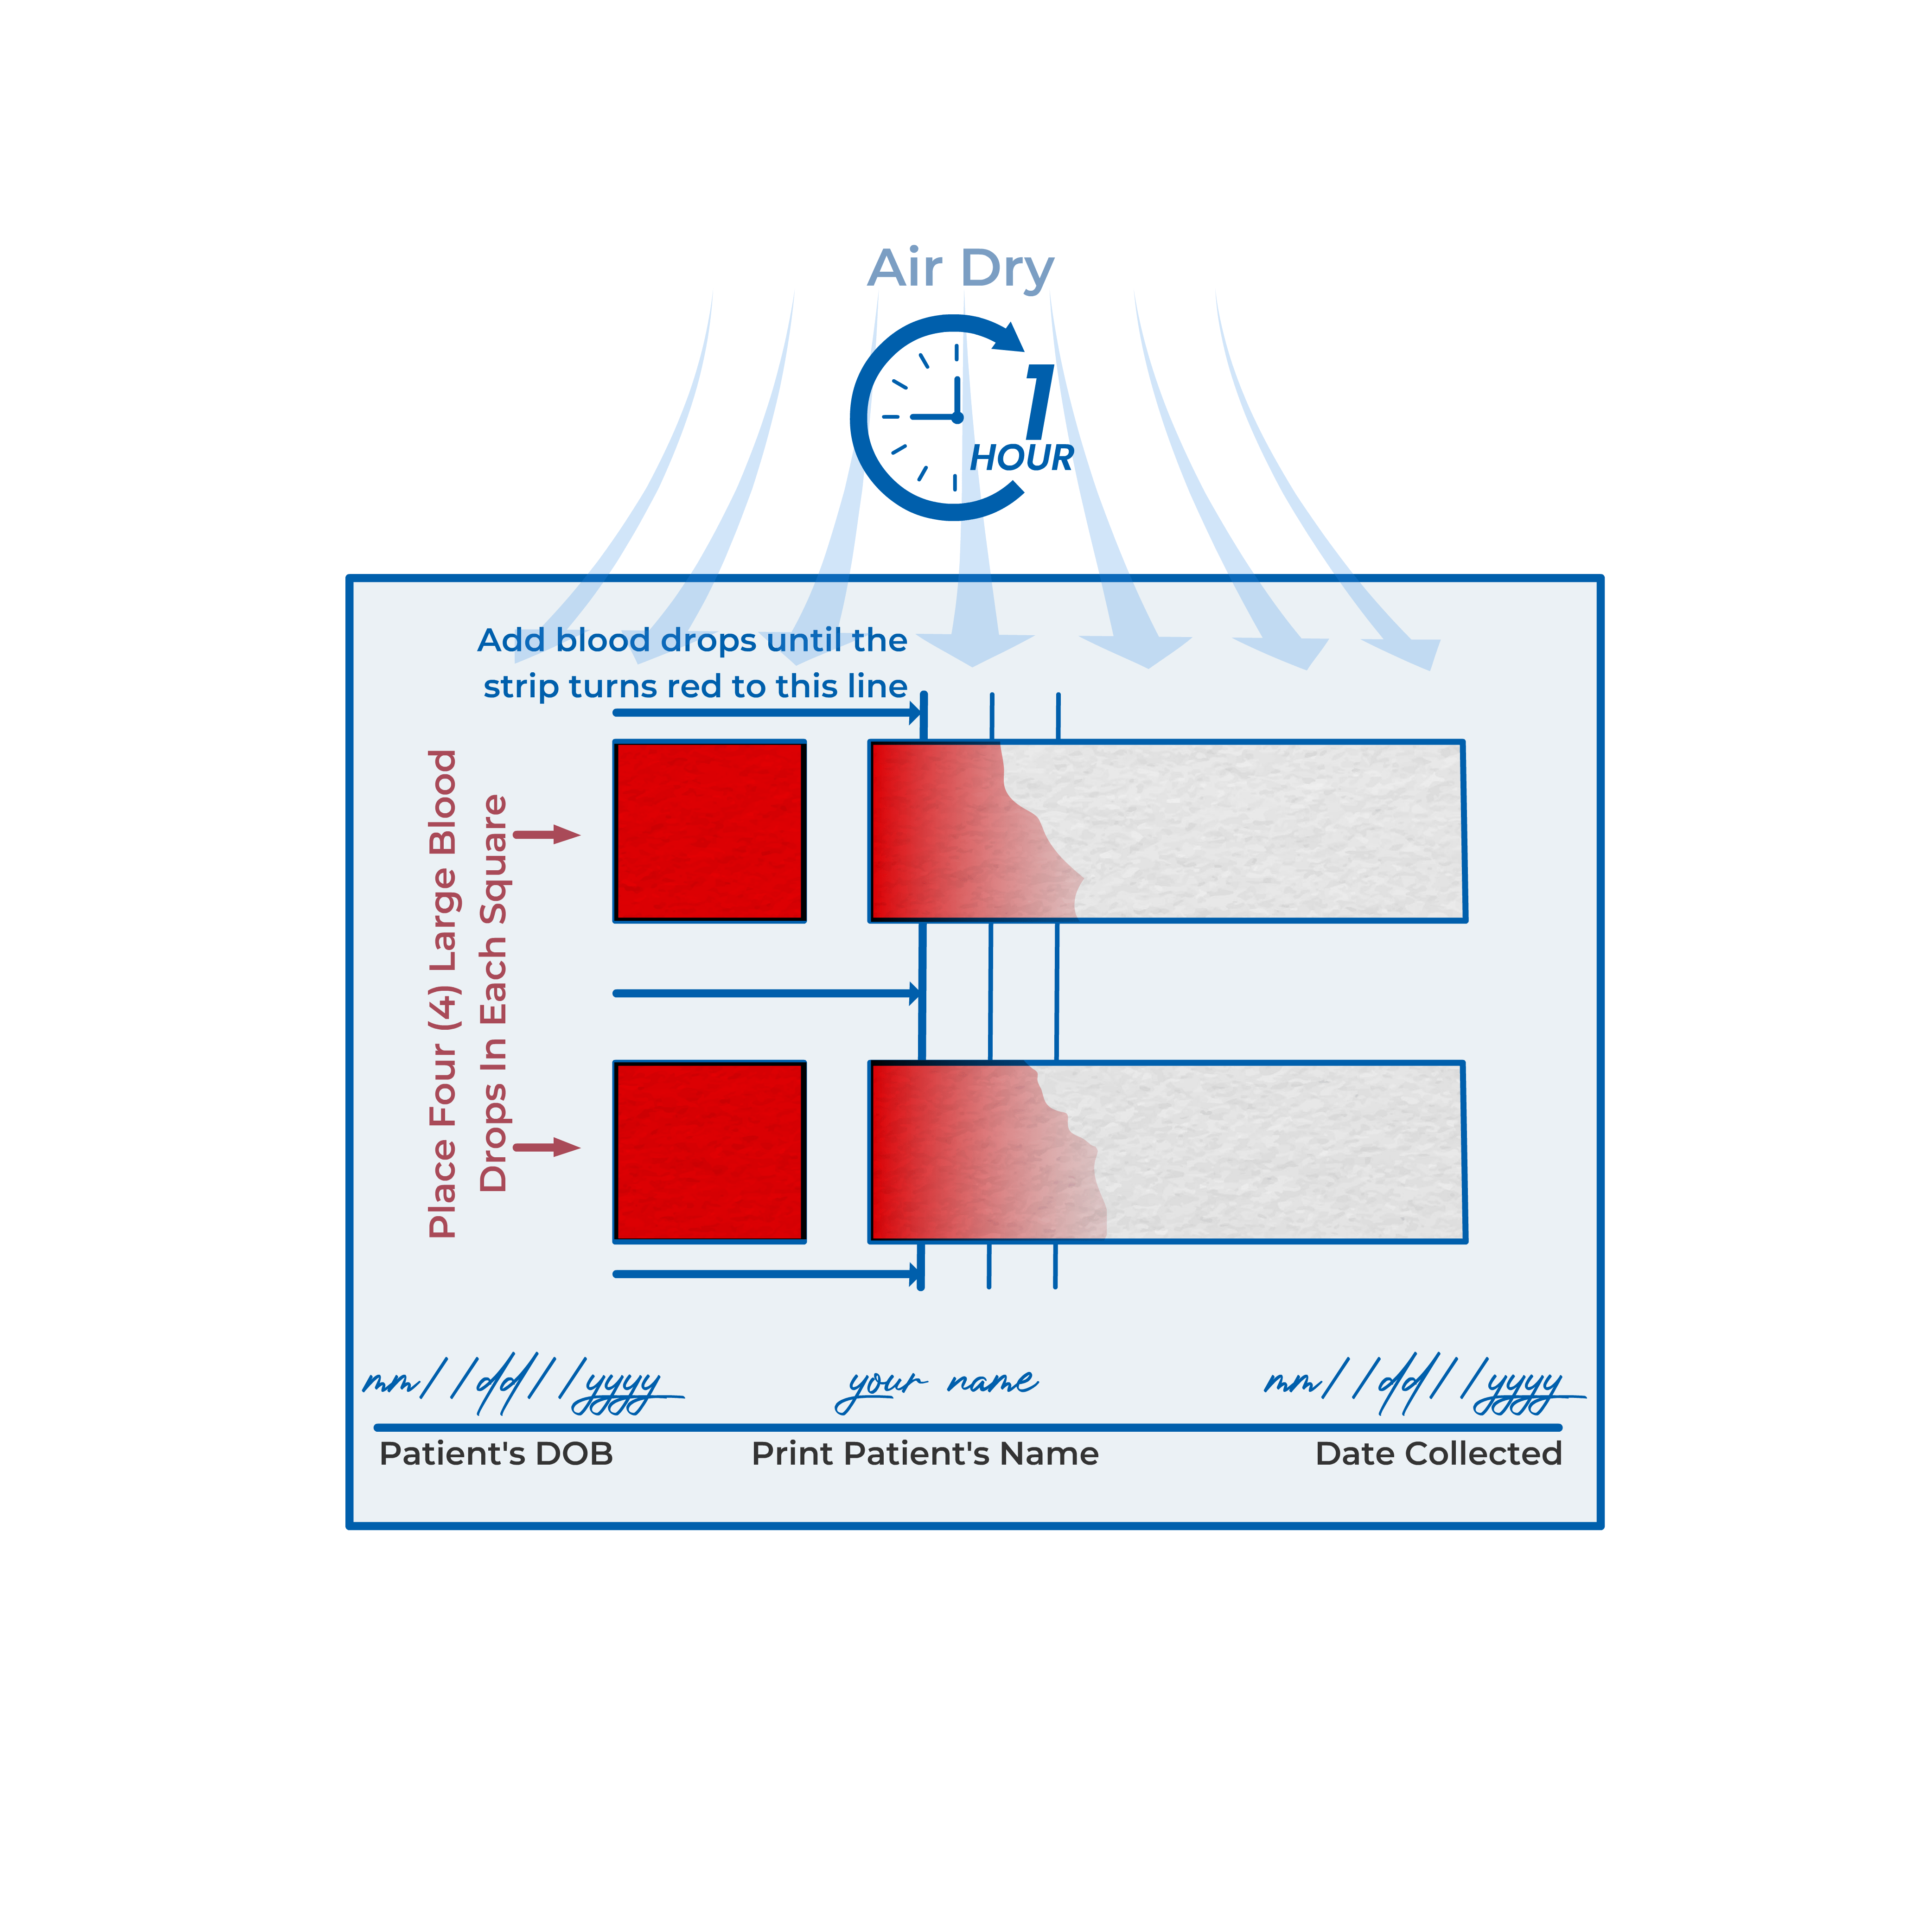
Allow one hour for collection card to dry.
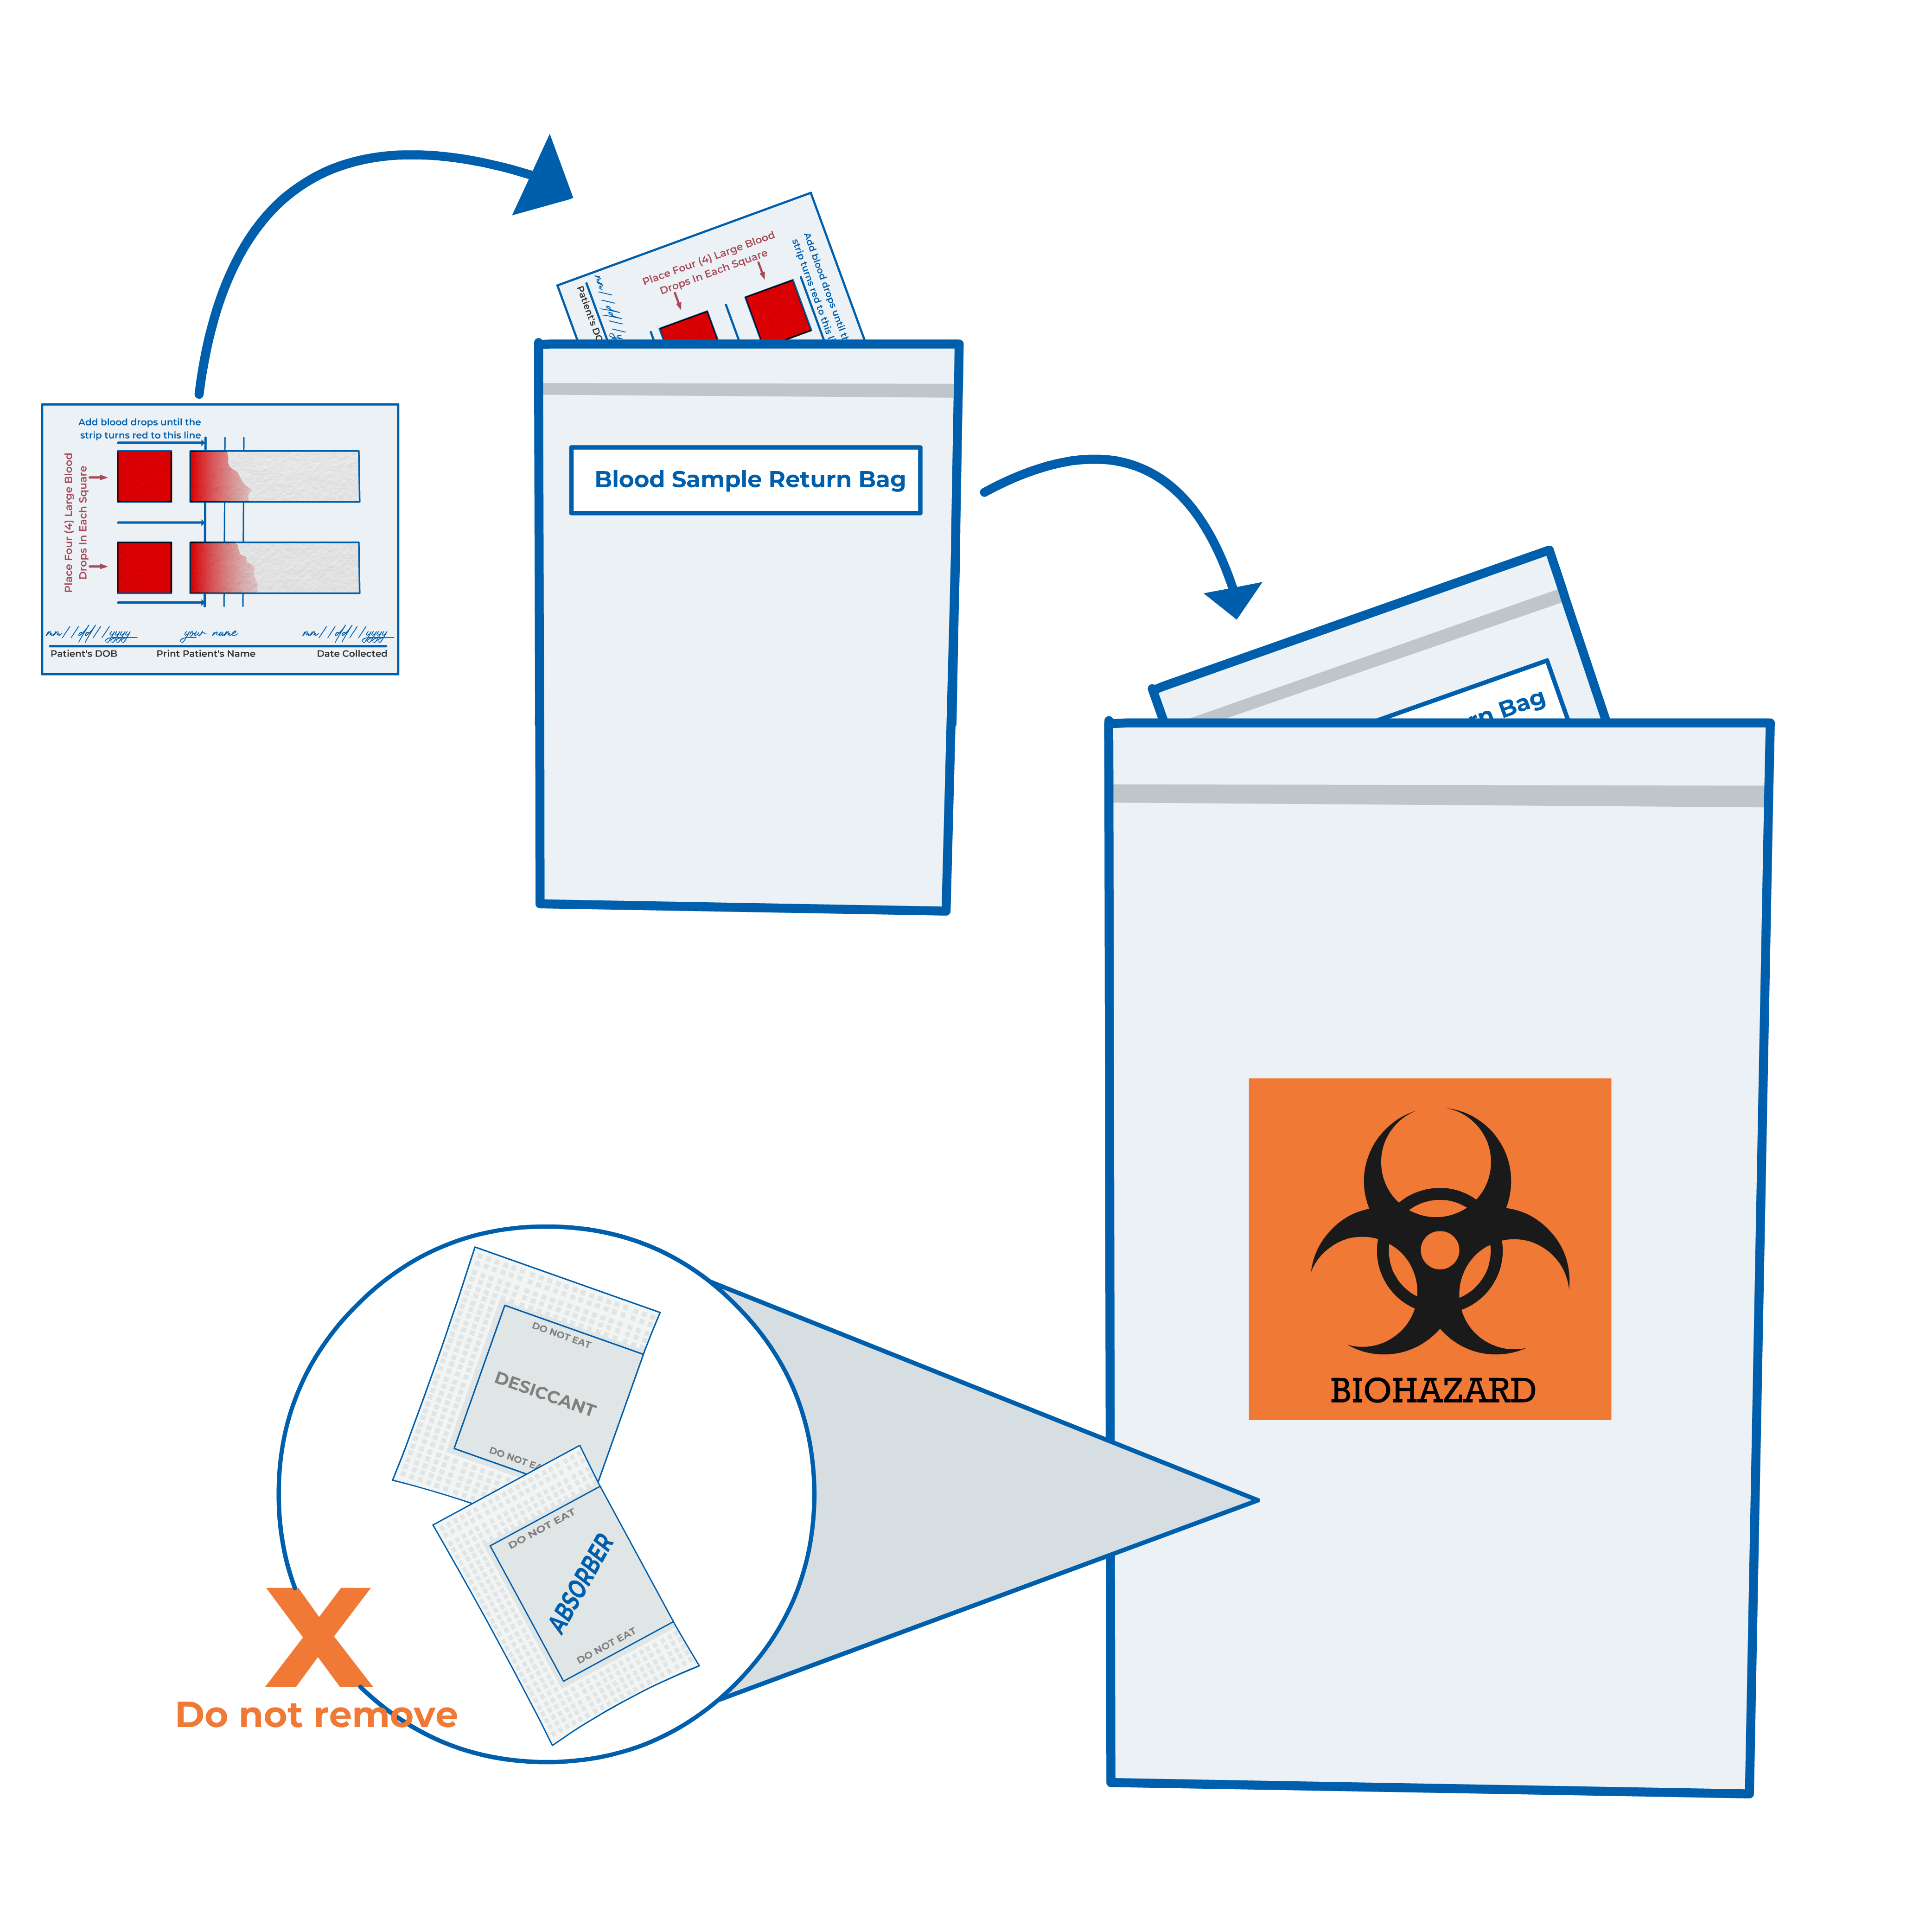
Open blood sample return bag and insert the blood card in it. Sealed and insert into biohazard bag. Do not remove dessicant or absorver bag from return bag..
Put the Bio-Hazard Bag into the pre-addressed and pre-paid envelop to the laboratory and mail it.